Phase 1: The Idea and the Sketch
It all started with a simple question: “What if I built a scooter made mostly of bicycle parts, with an electric motor, that could handle rough terrain?”
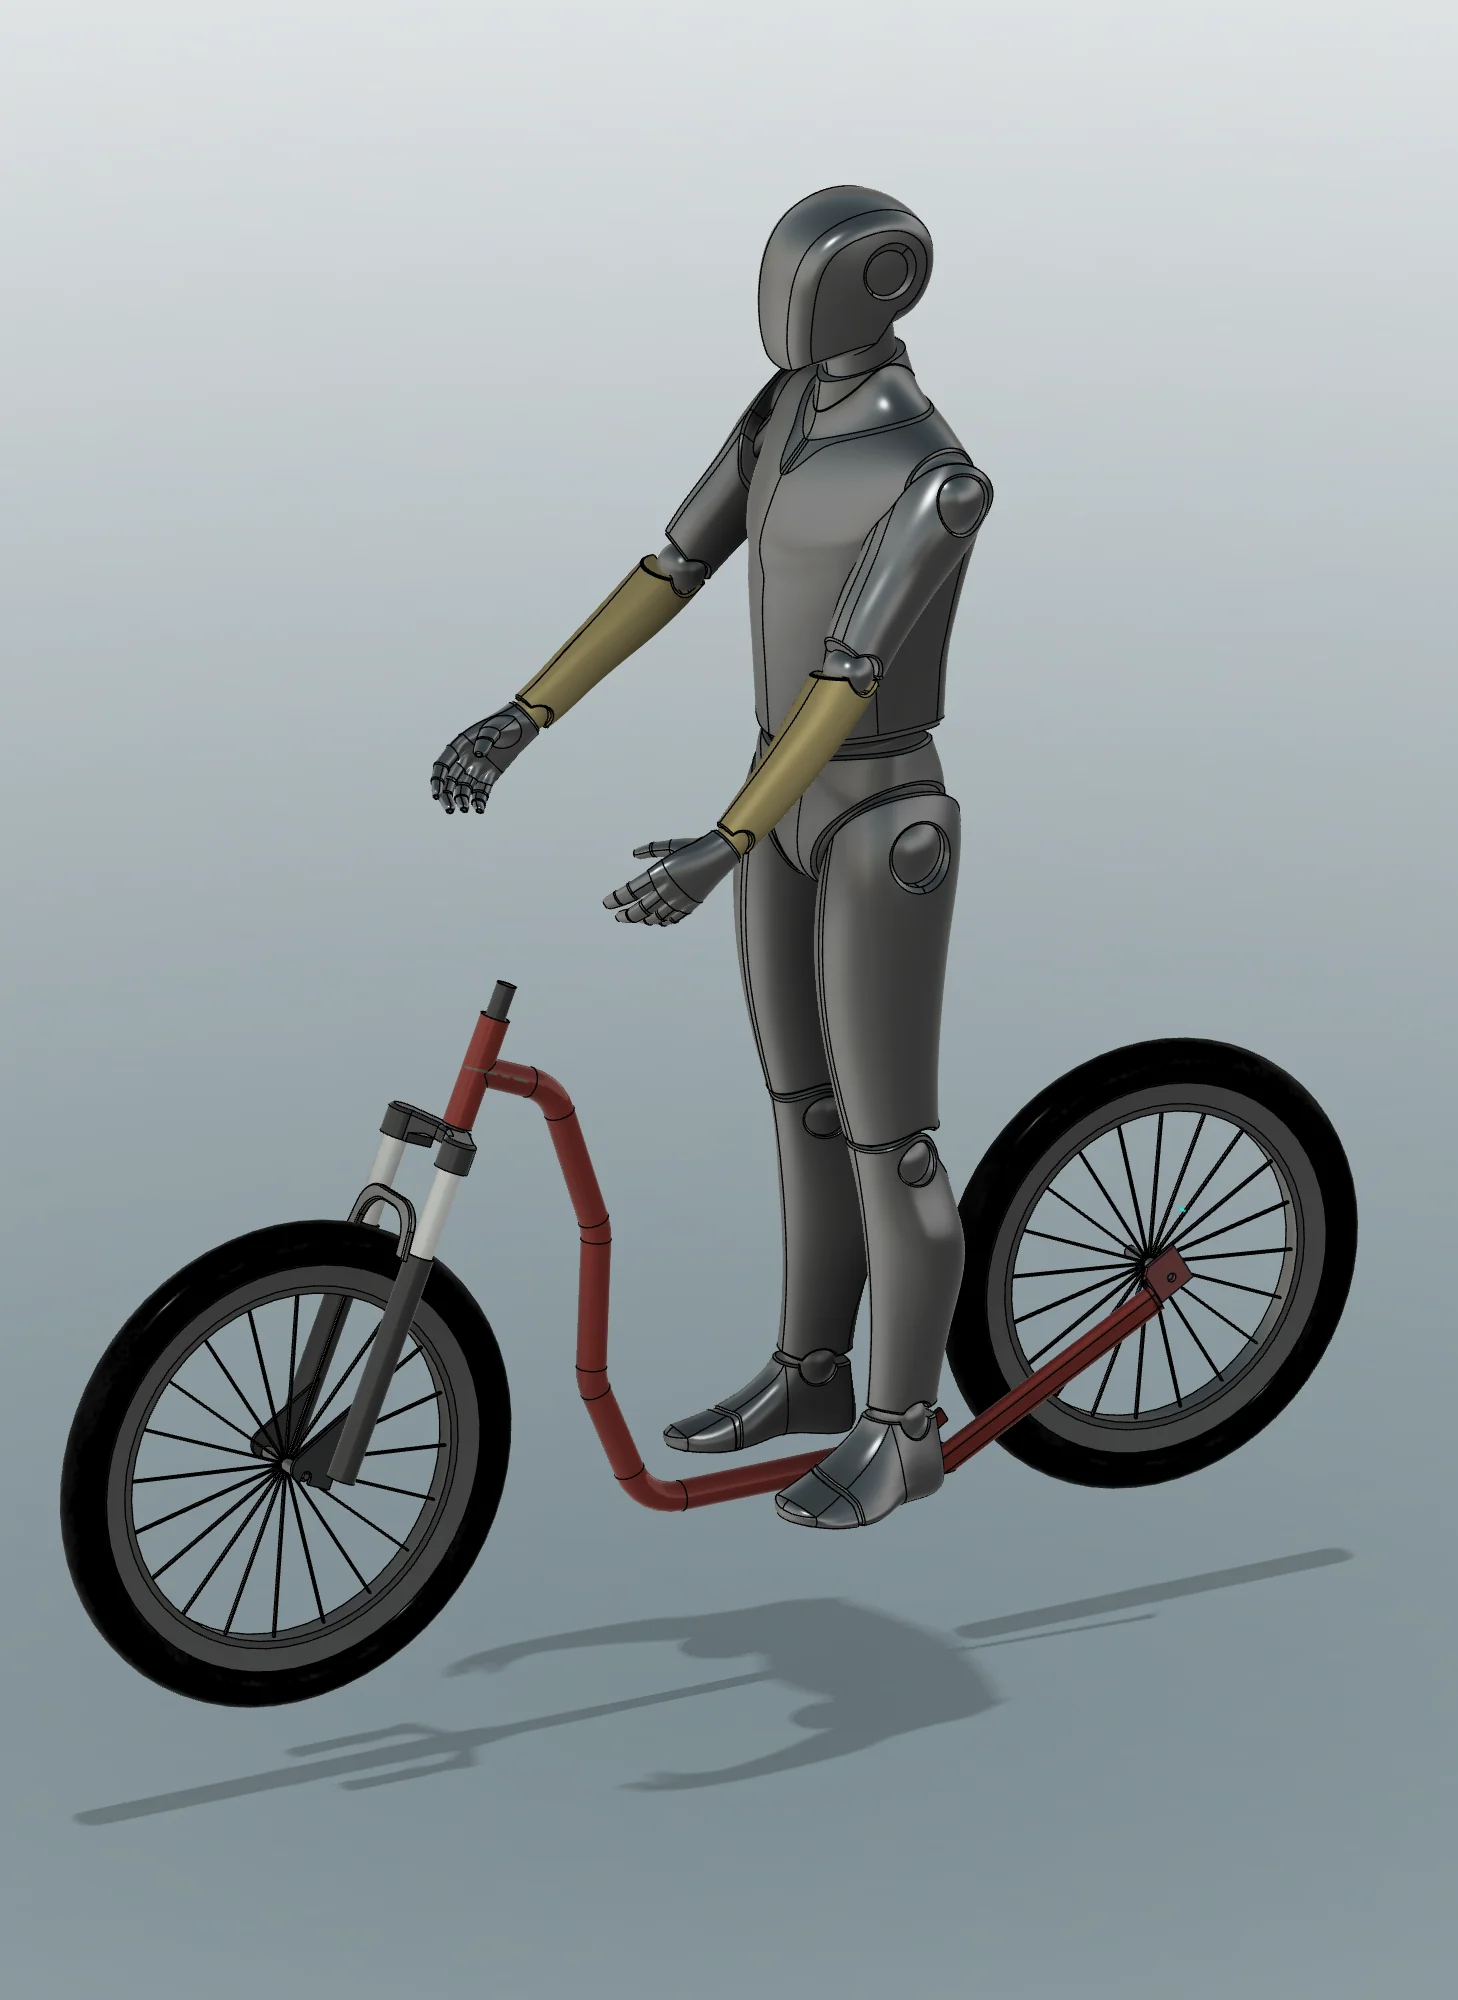
I didn’t have a ready-made plan. I started with sketches on paper — wheelbase, battery placement, head tube angle. I knew I wanted:
- Large wheels — better stability than standard scooters
- Front suspension fork — comfort on uneven ground
- Central battery placement — low center of gravity
- Rear wheel drive — classic construction
Phase 2: Materials and Parts
Before I started cutting metal, I had to gather everything I needed:
| Component | Source | Notes |
|---|---|---|
| Steel frame | Tube bent to order | Main frame |
| Suspension fork | Old dirt bike | Large, 150mm travel |
| 26" and 24" wheels | Mountain bikes | Front and rear |
| Hub motor (250-500W) | AliExpress MXUS | Drive |
| Li-ion battery | AliExpress | Mounted on frame, 48V |
| Controller and throttle | Included with motor | Electronics |
| Standing platform | Laser-cut and welded | Custom design |
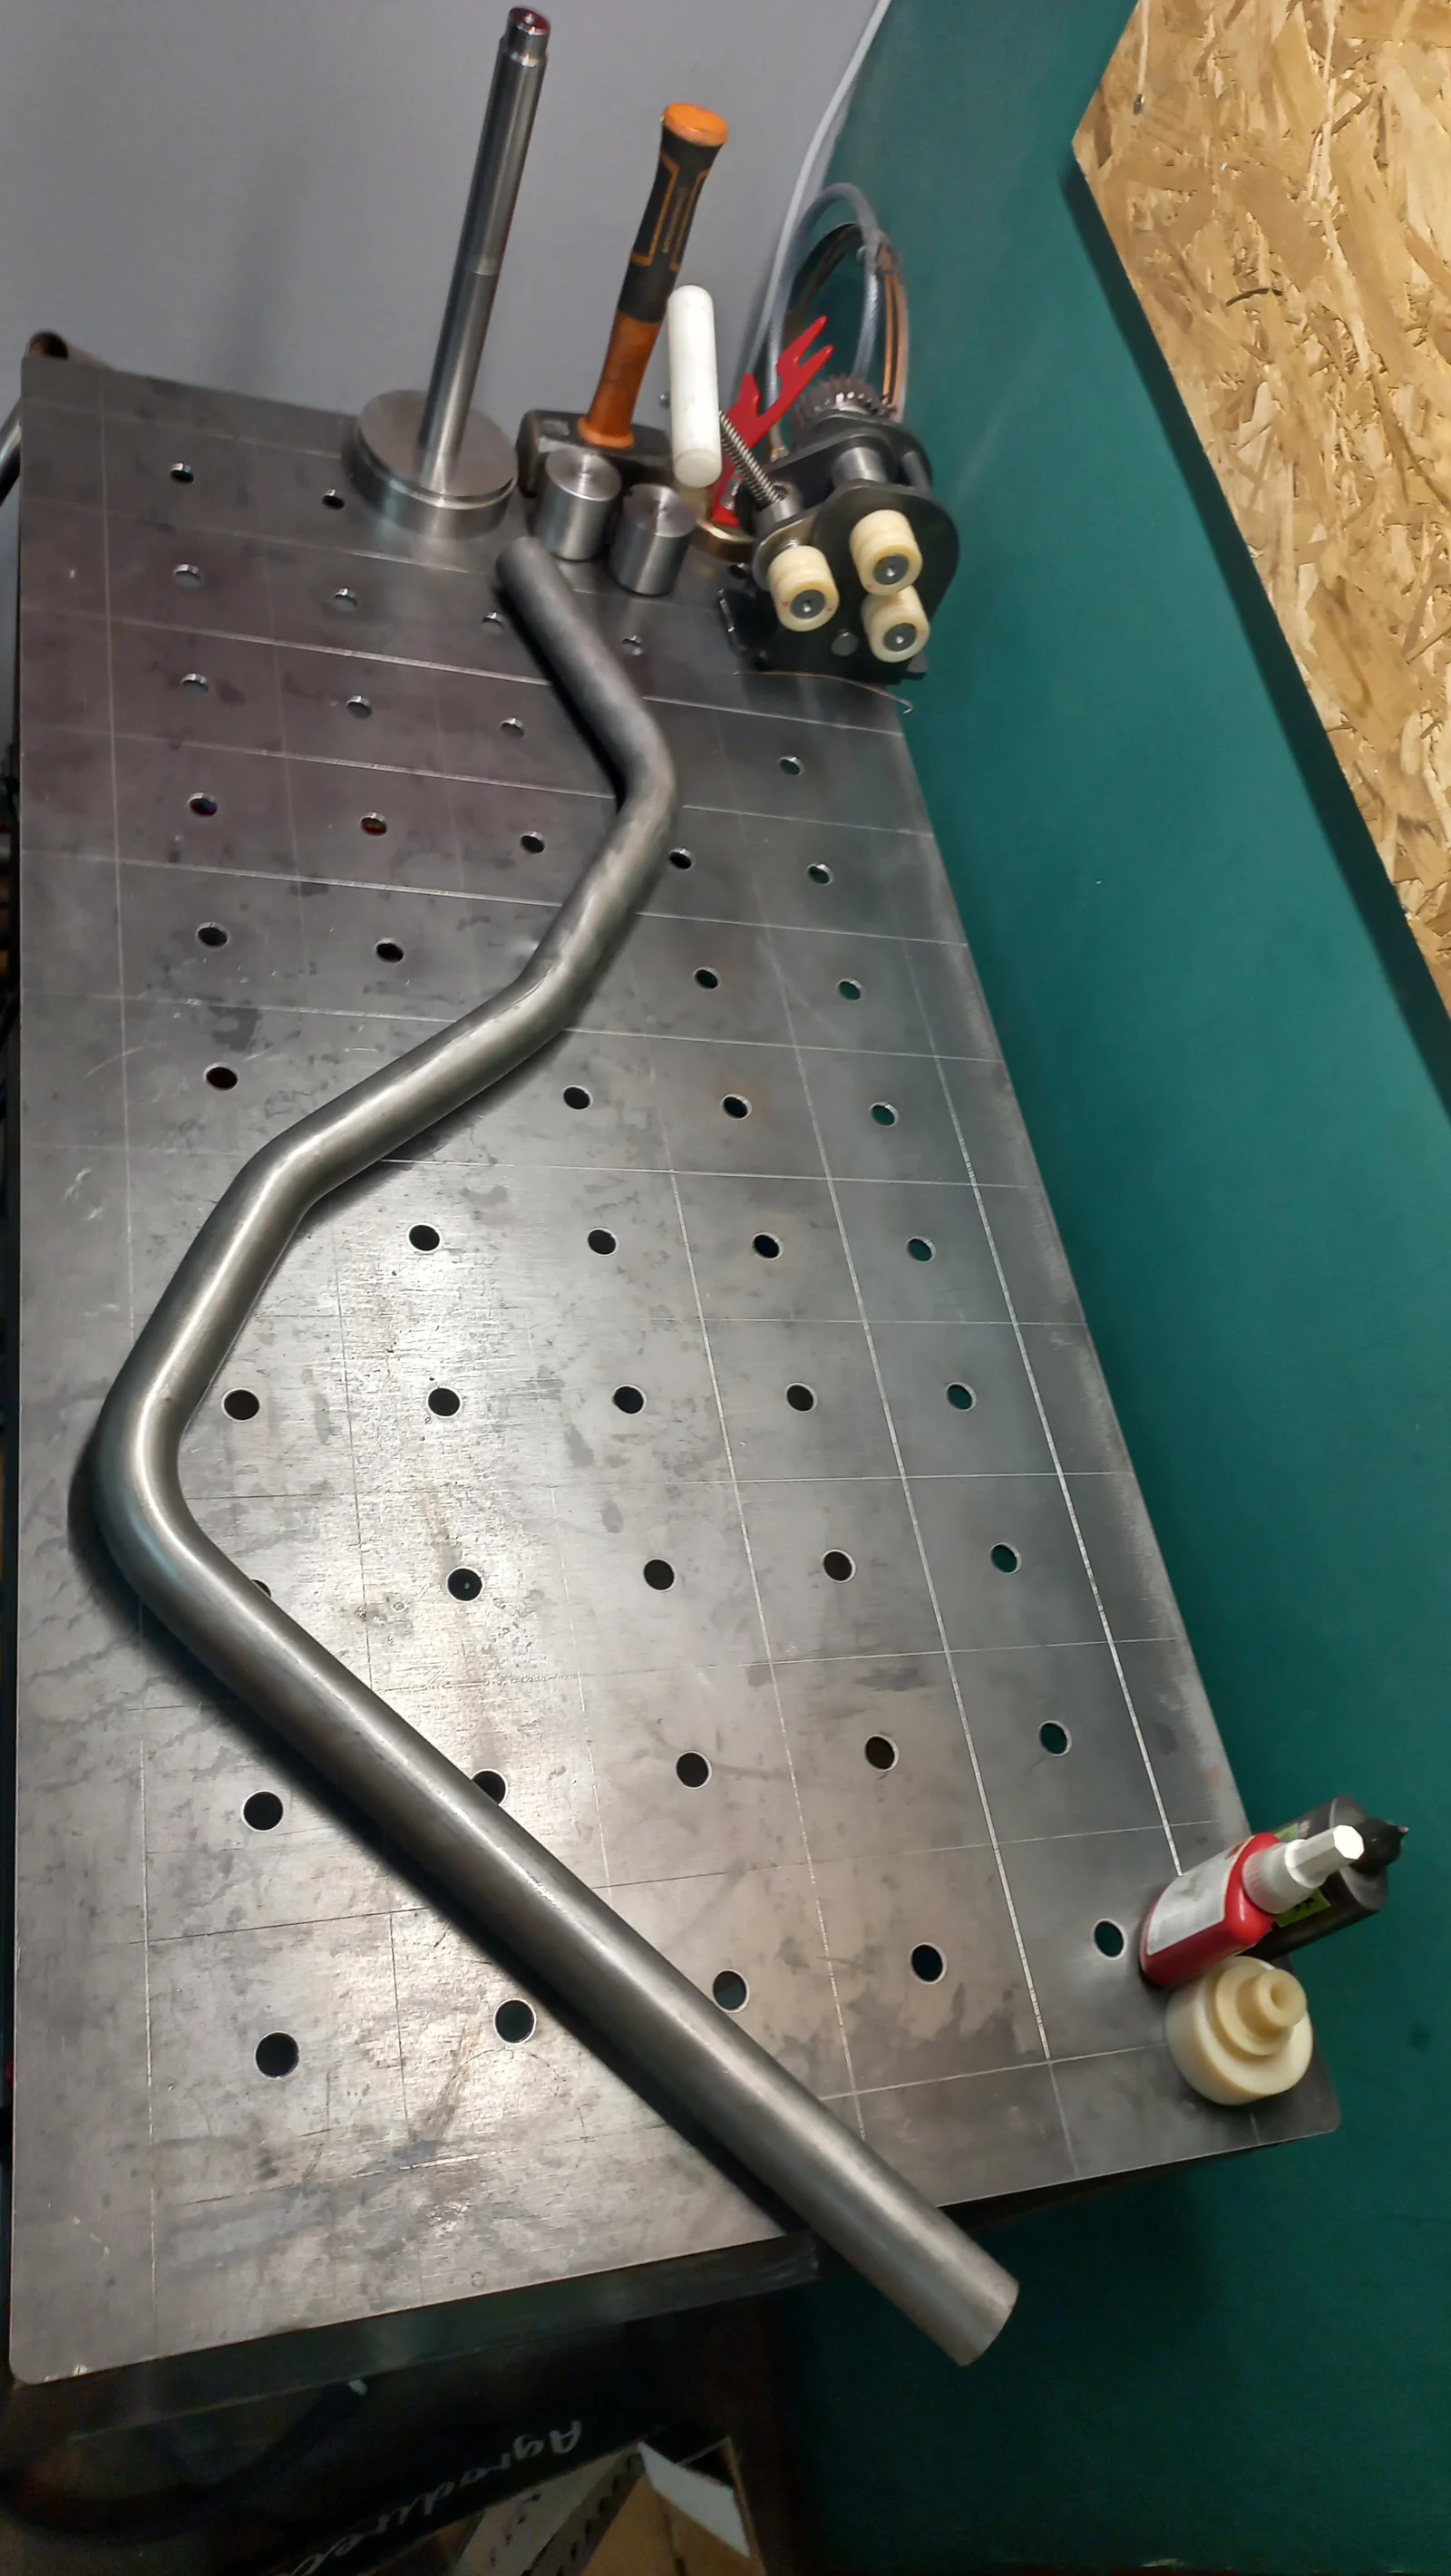
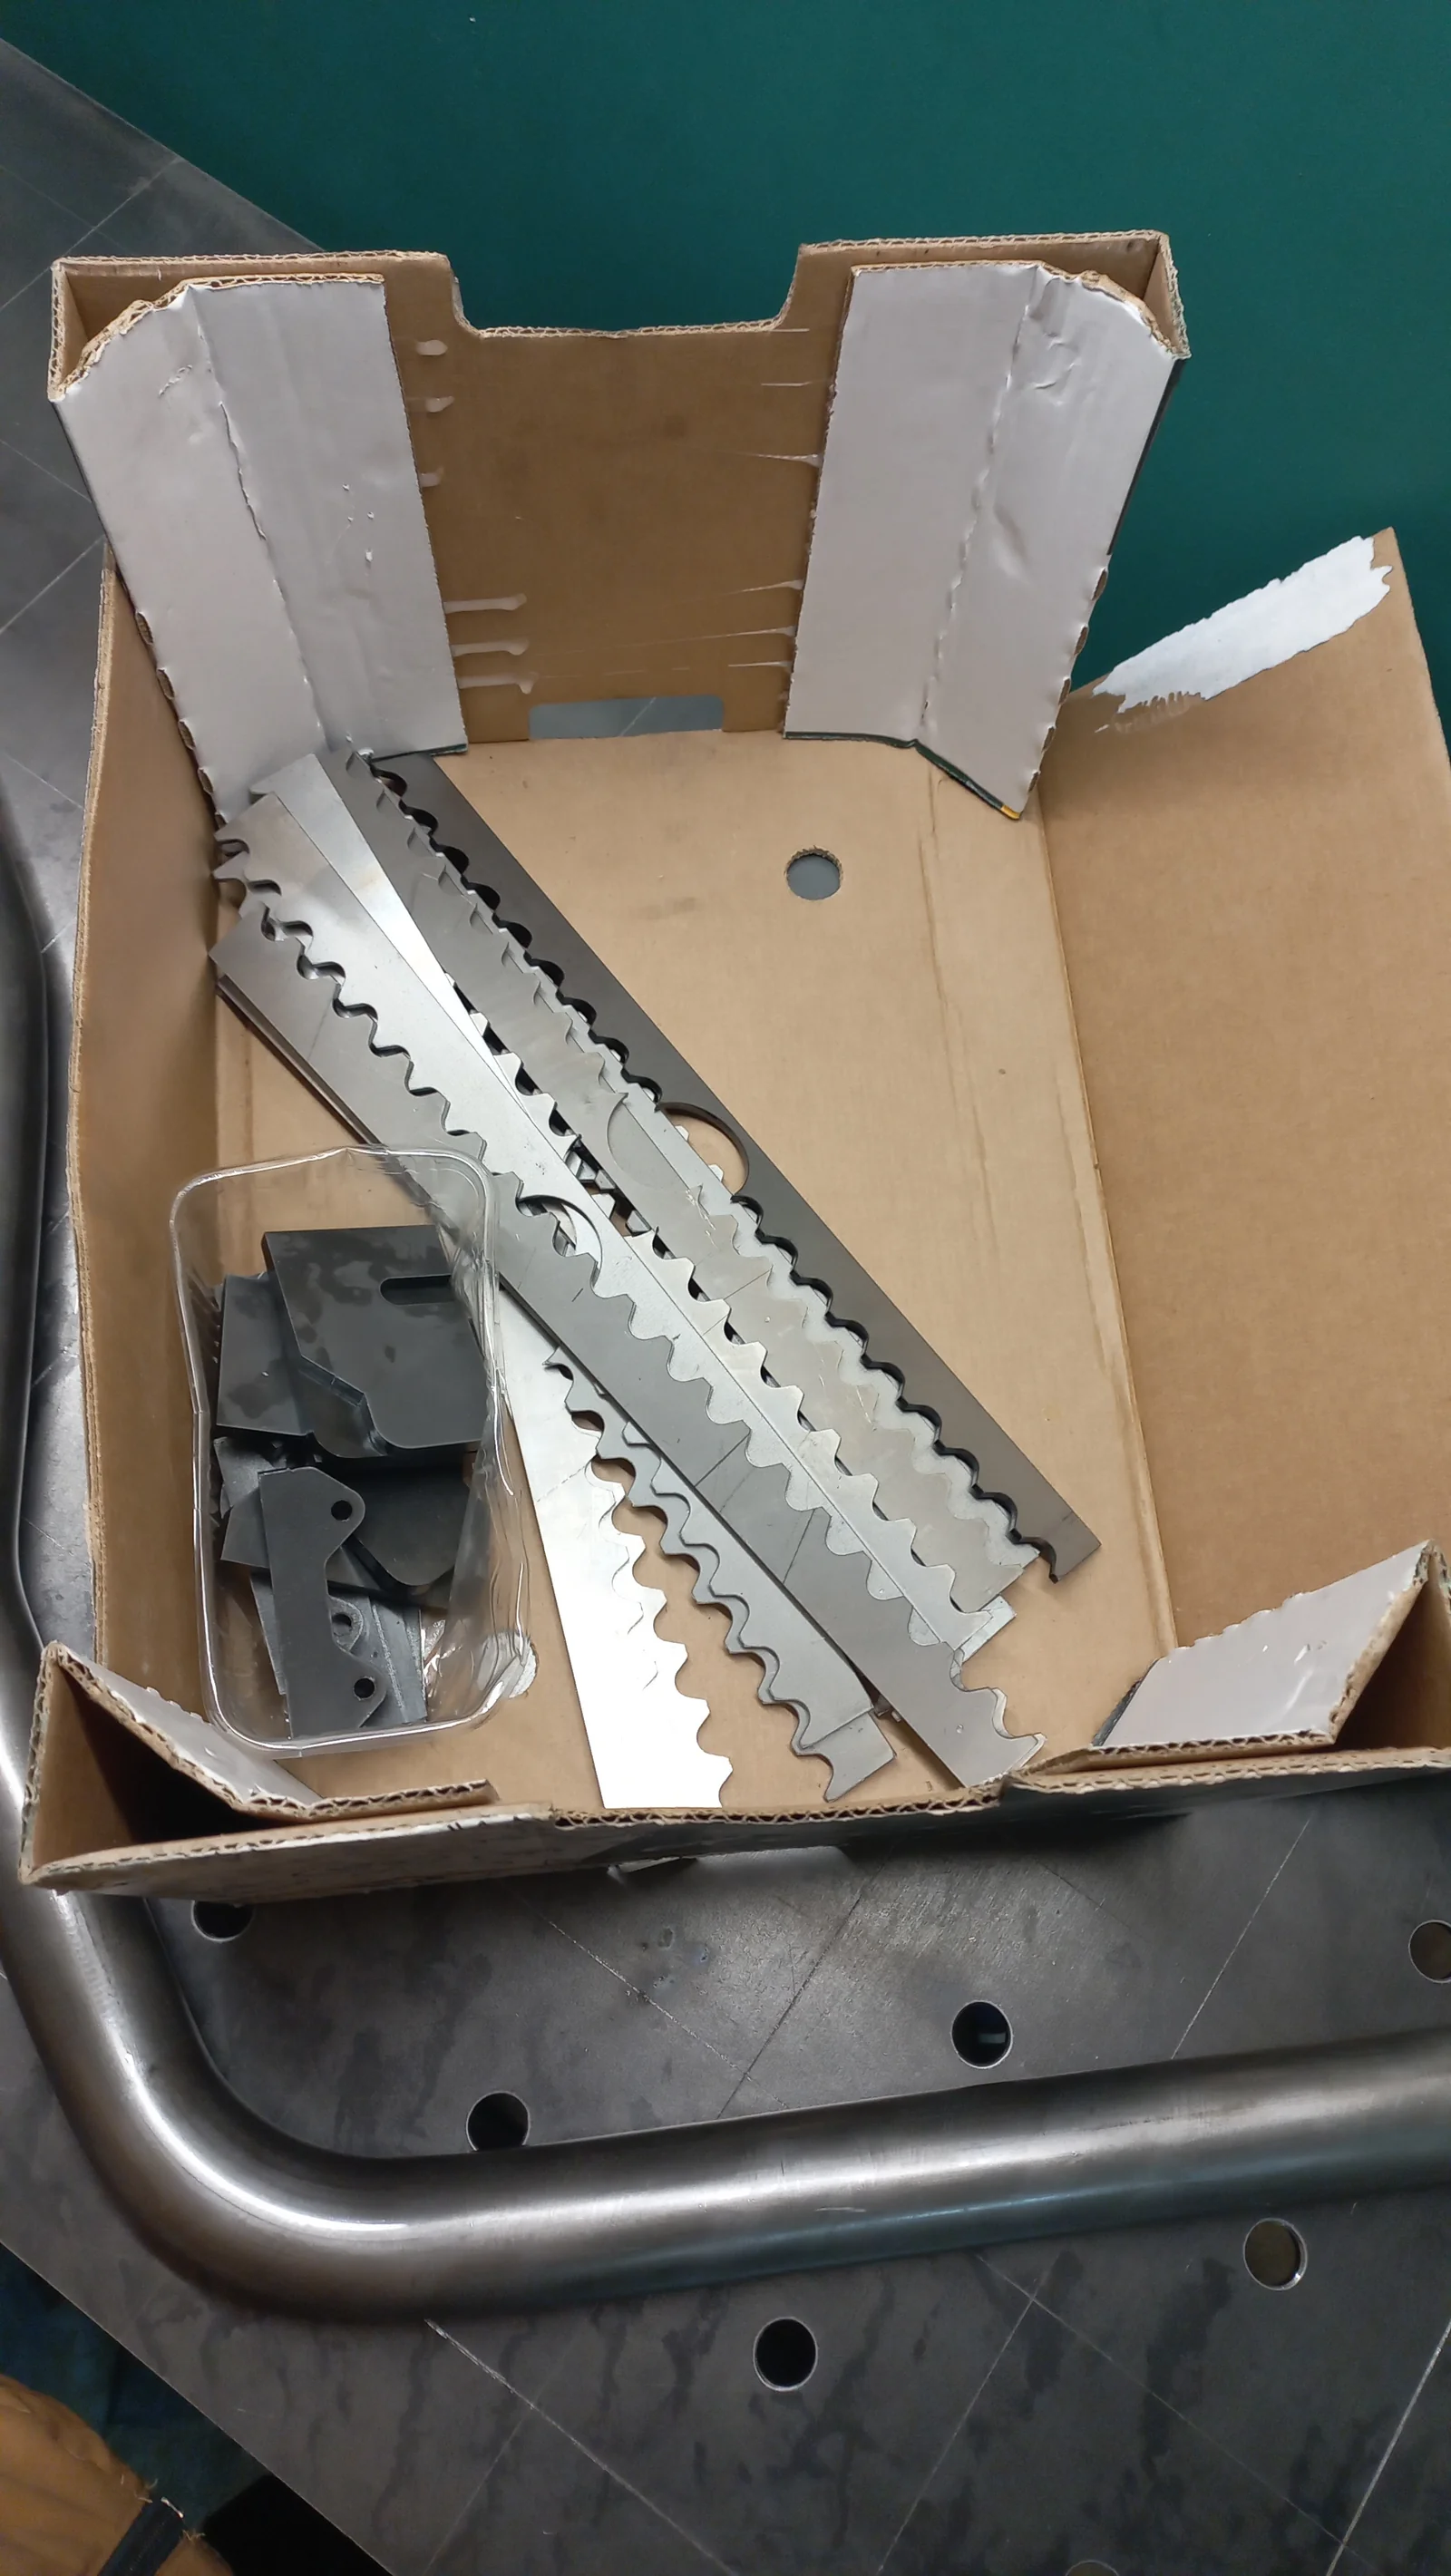
Phase 3: The Frame — The Key to the Scooter
This was the most difficult stage. The frame had to be stiff yet light. I made it from S355 steel tube welded with TIG.
Step by step:
- Measurement and cutting — precise tube bending according to a 3D model at a specialized company
- Edge grinding — preparation for welding
- Welding in a jig — ensuring symmetry and correct angles
- Finishing work — grinding and cleaning the welds
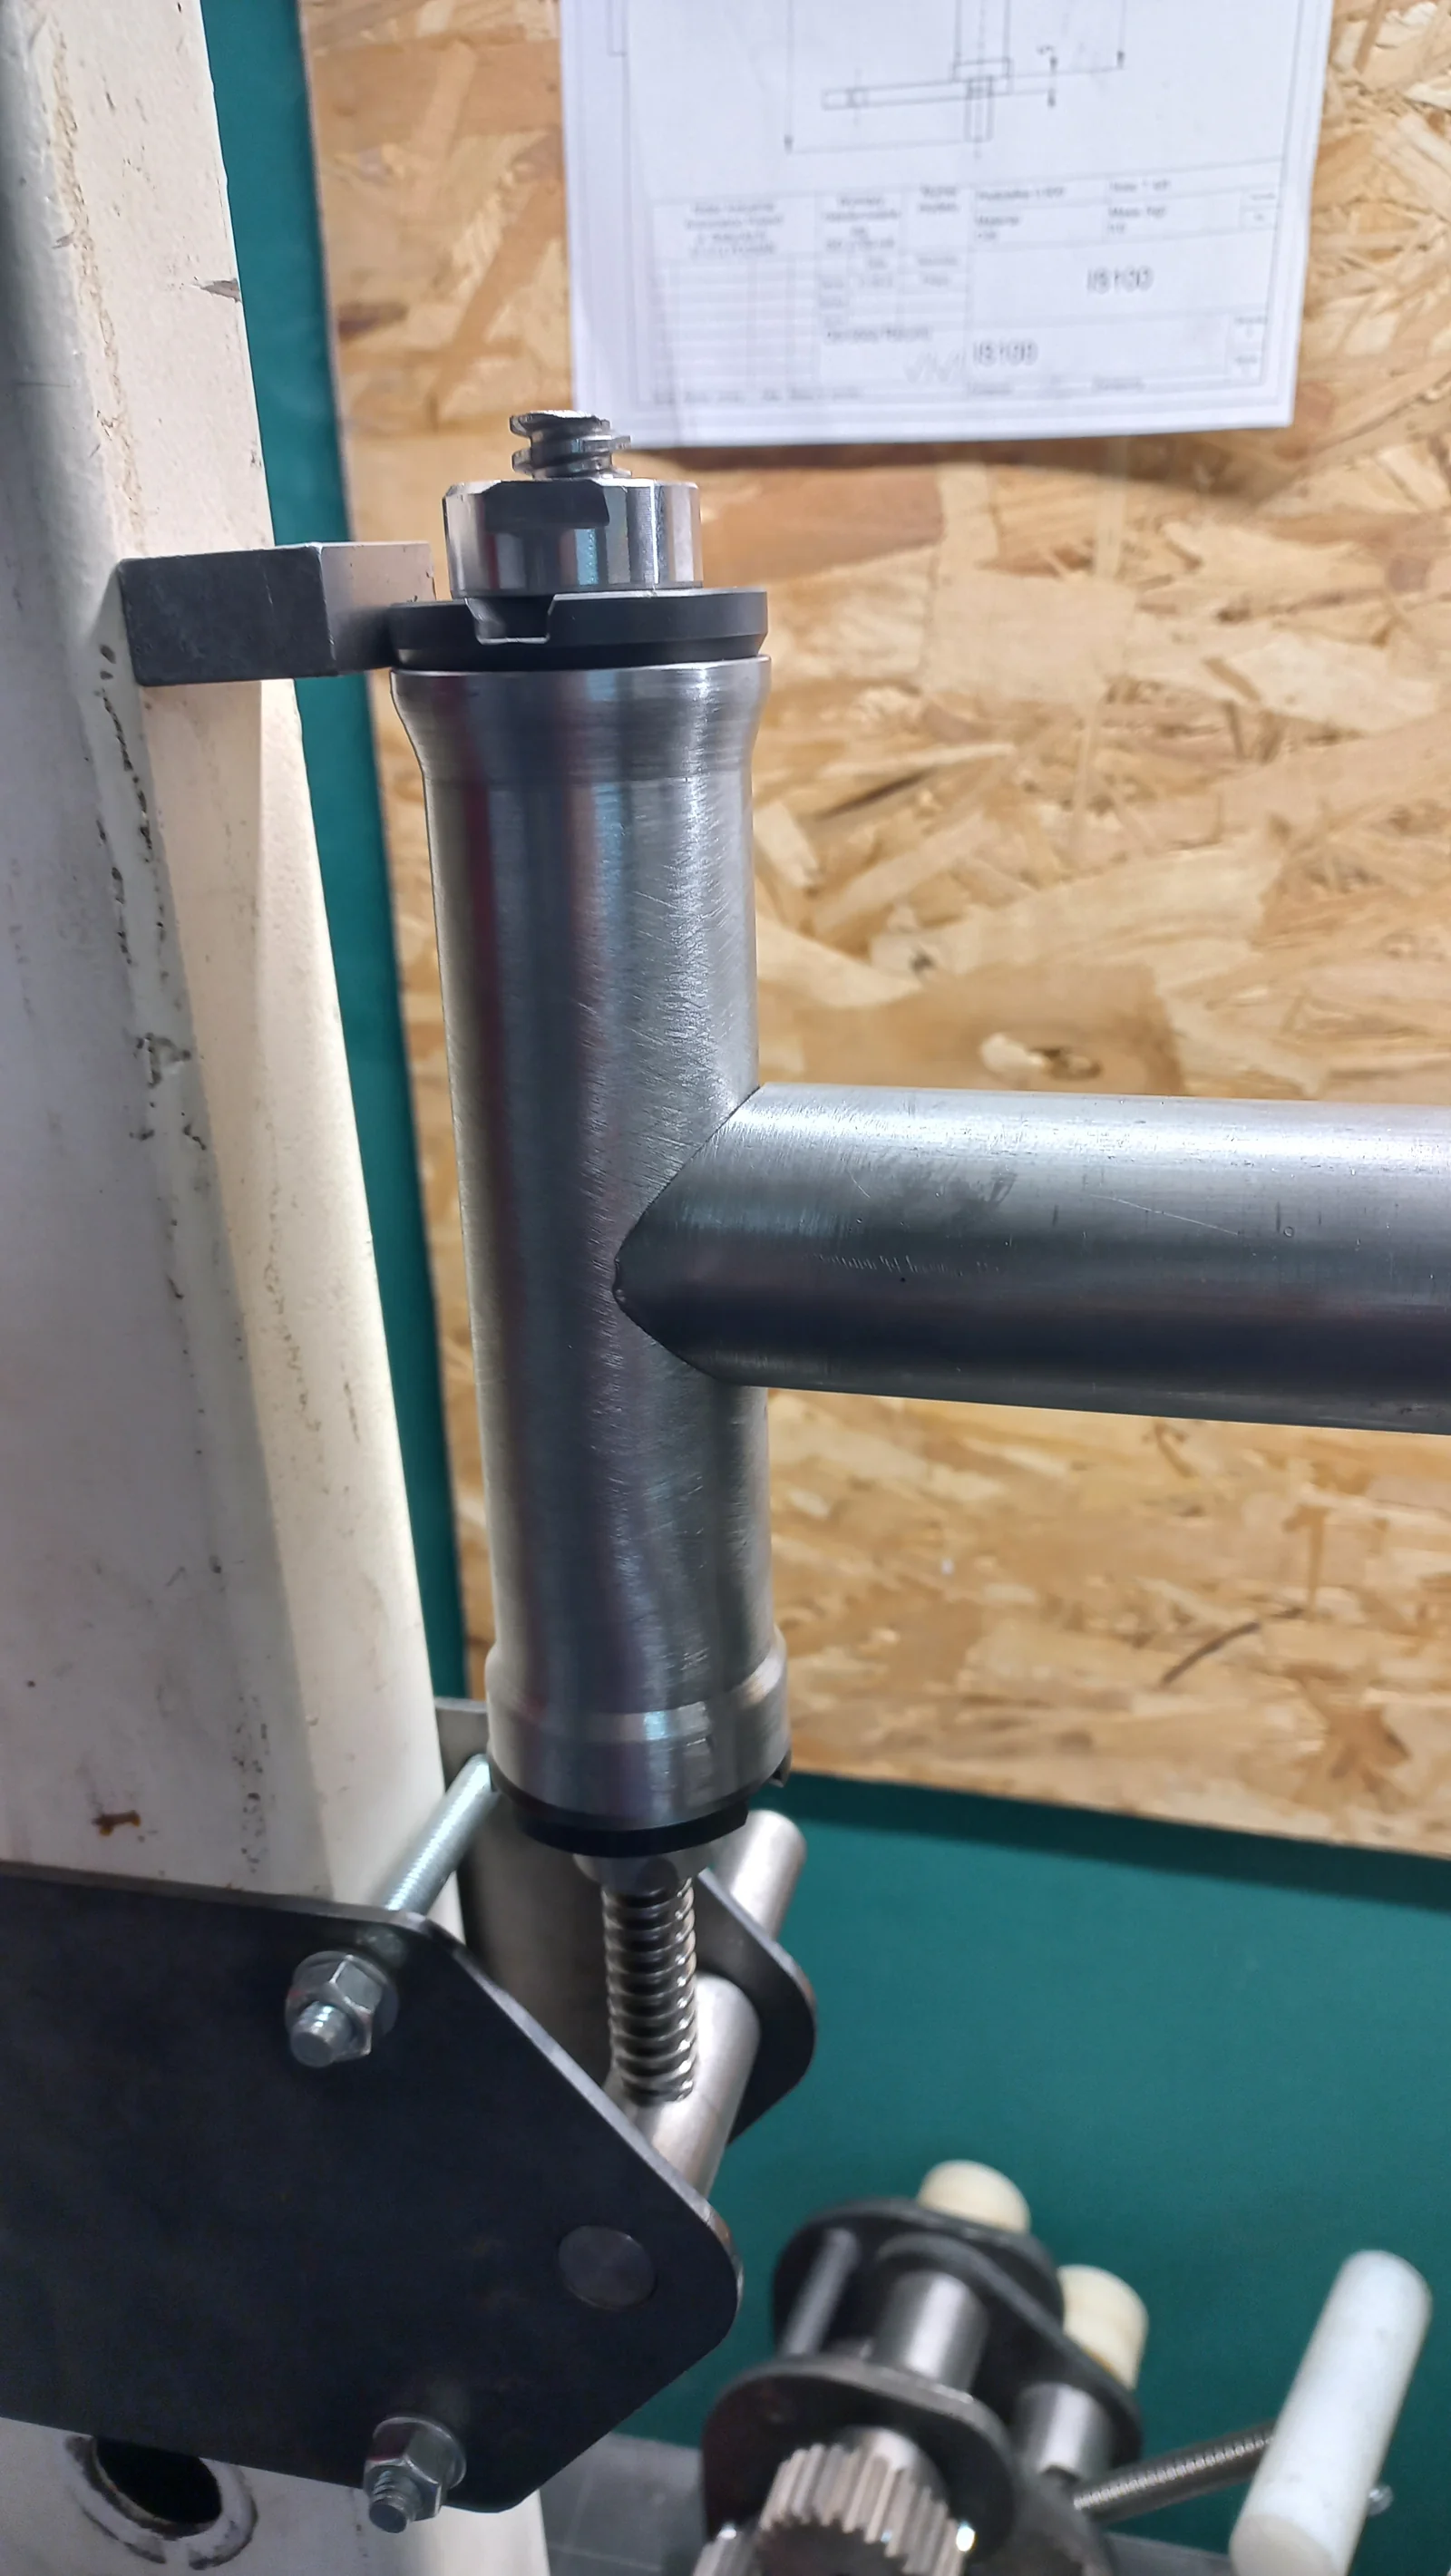
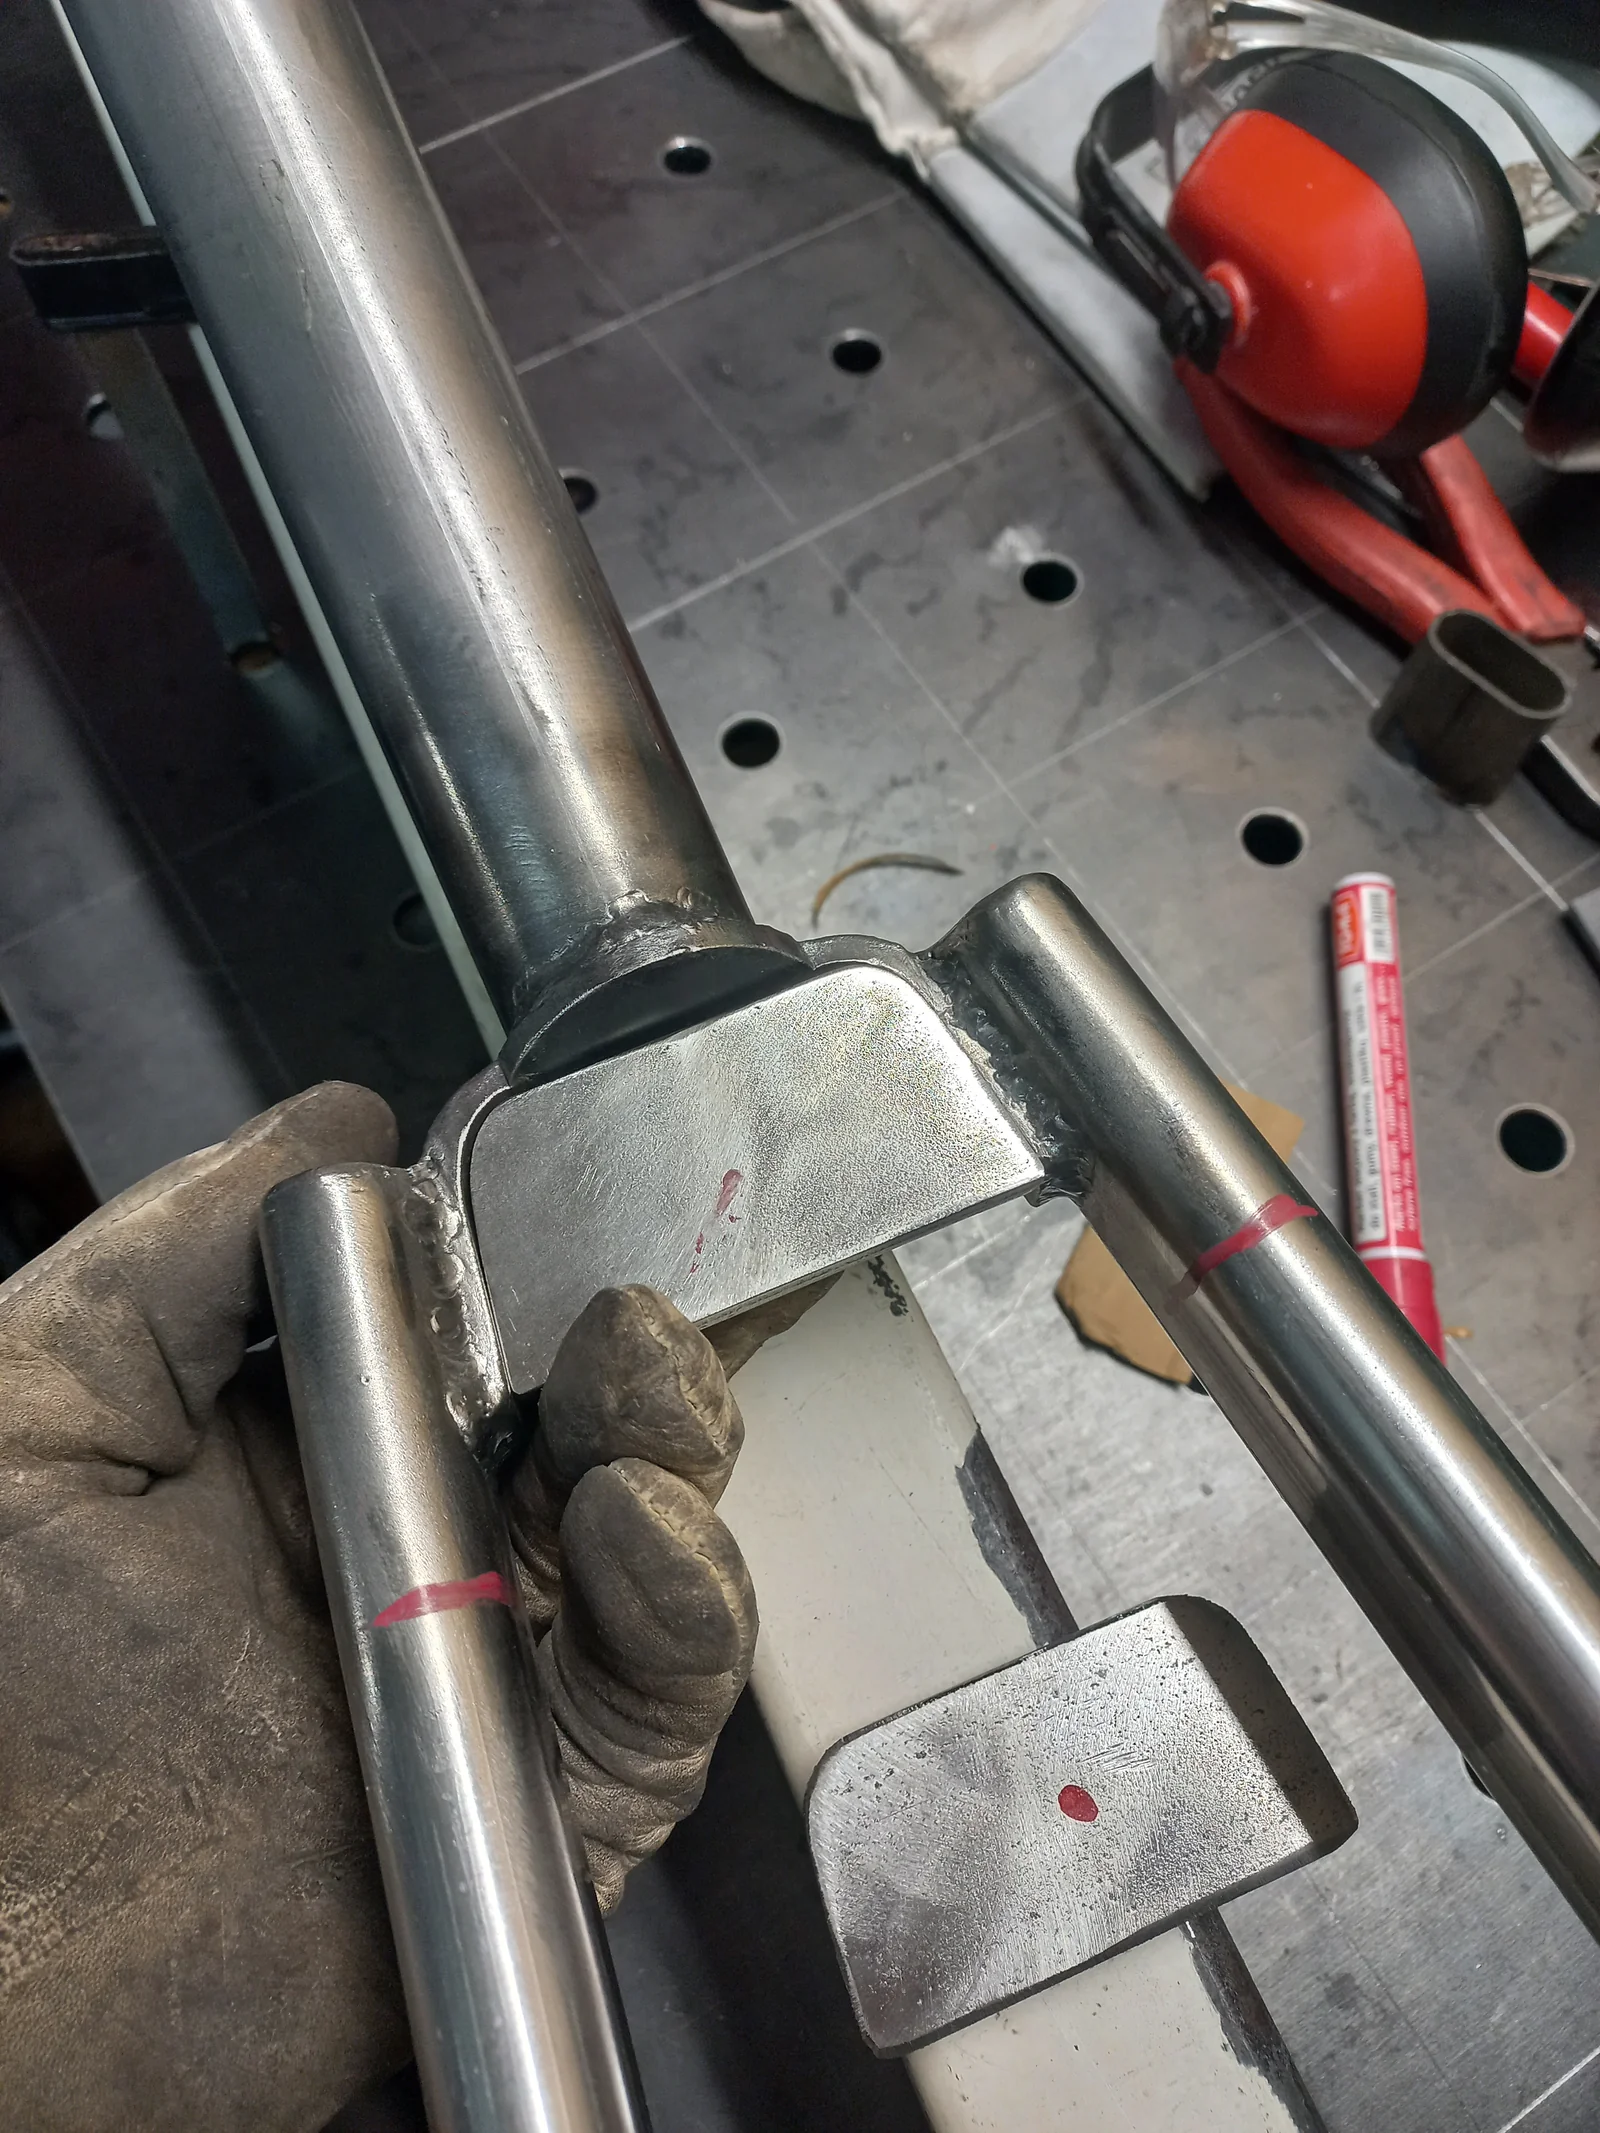
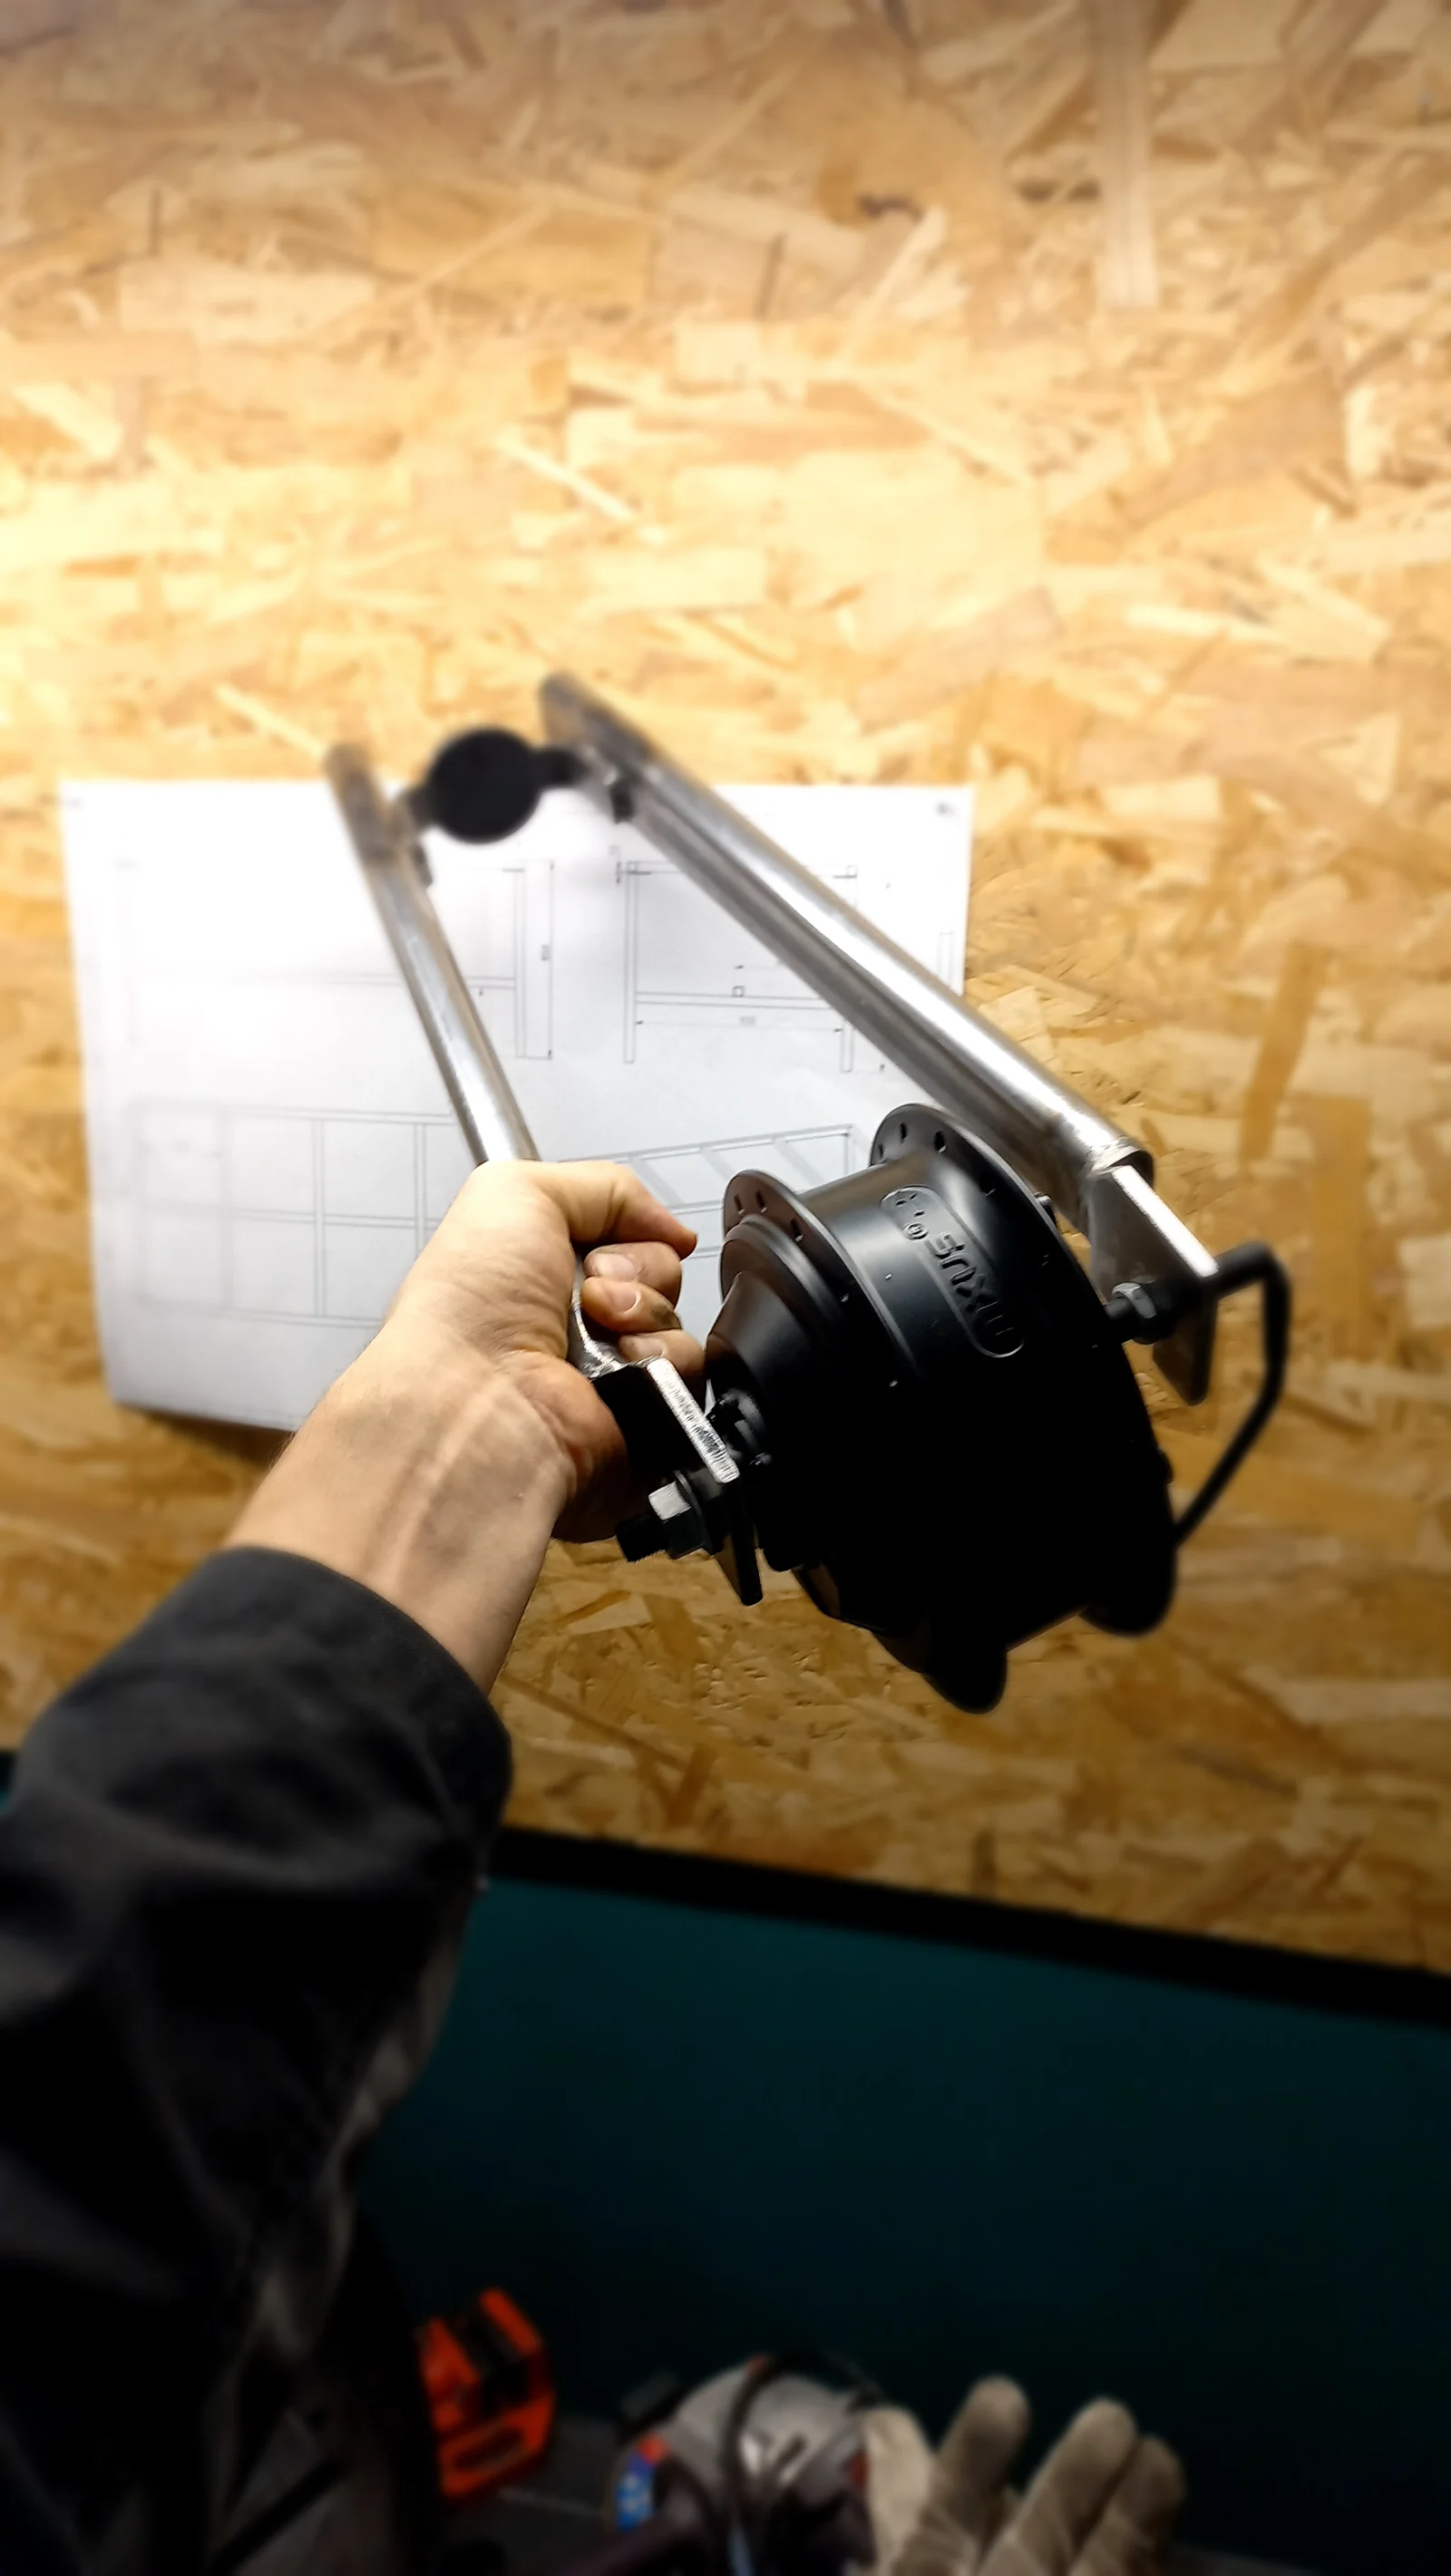
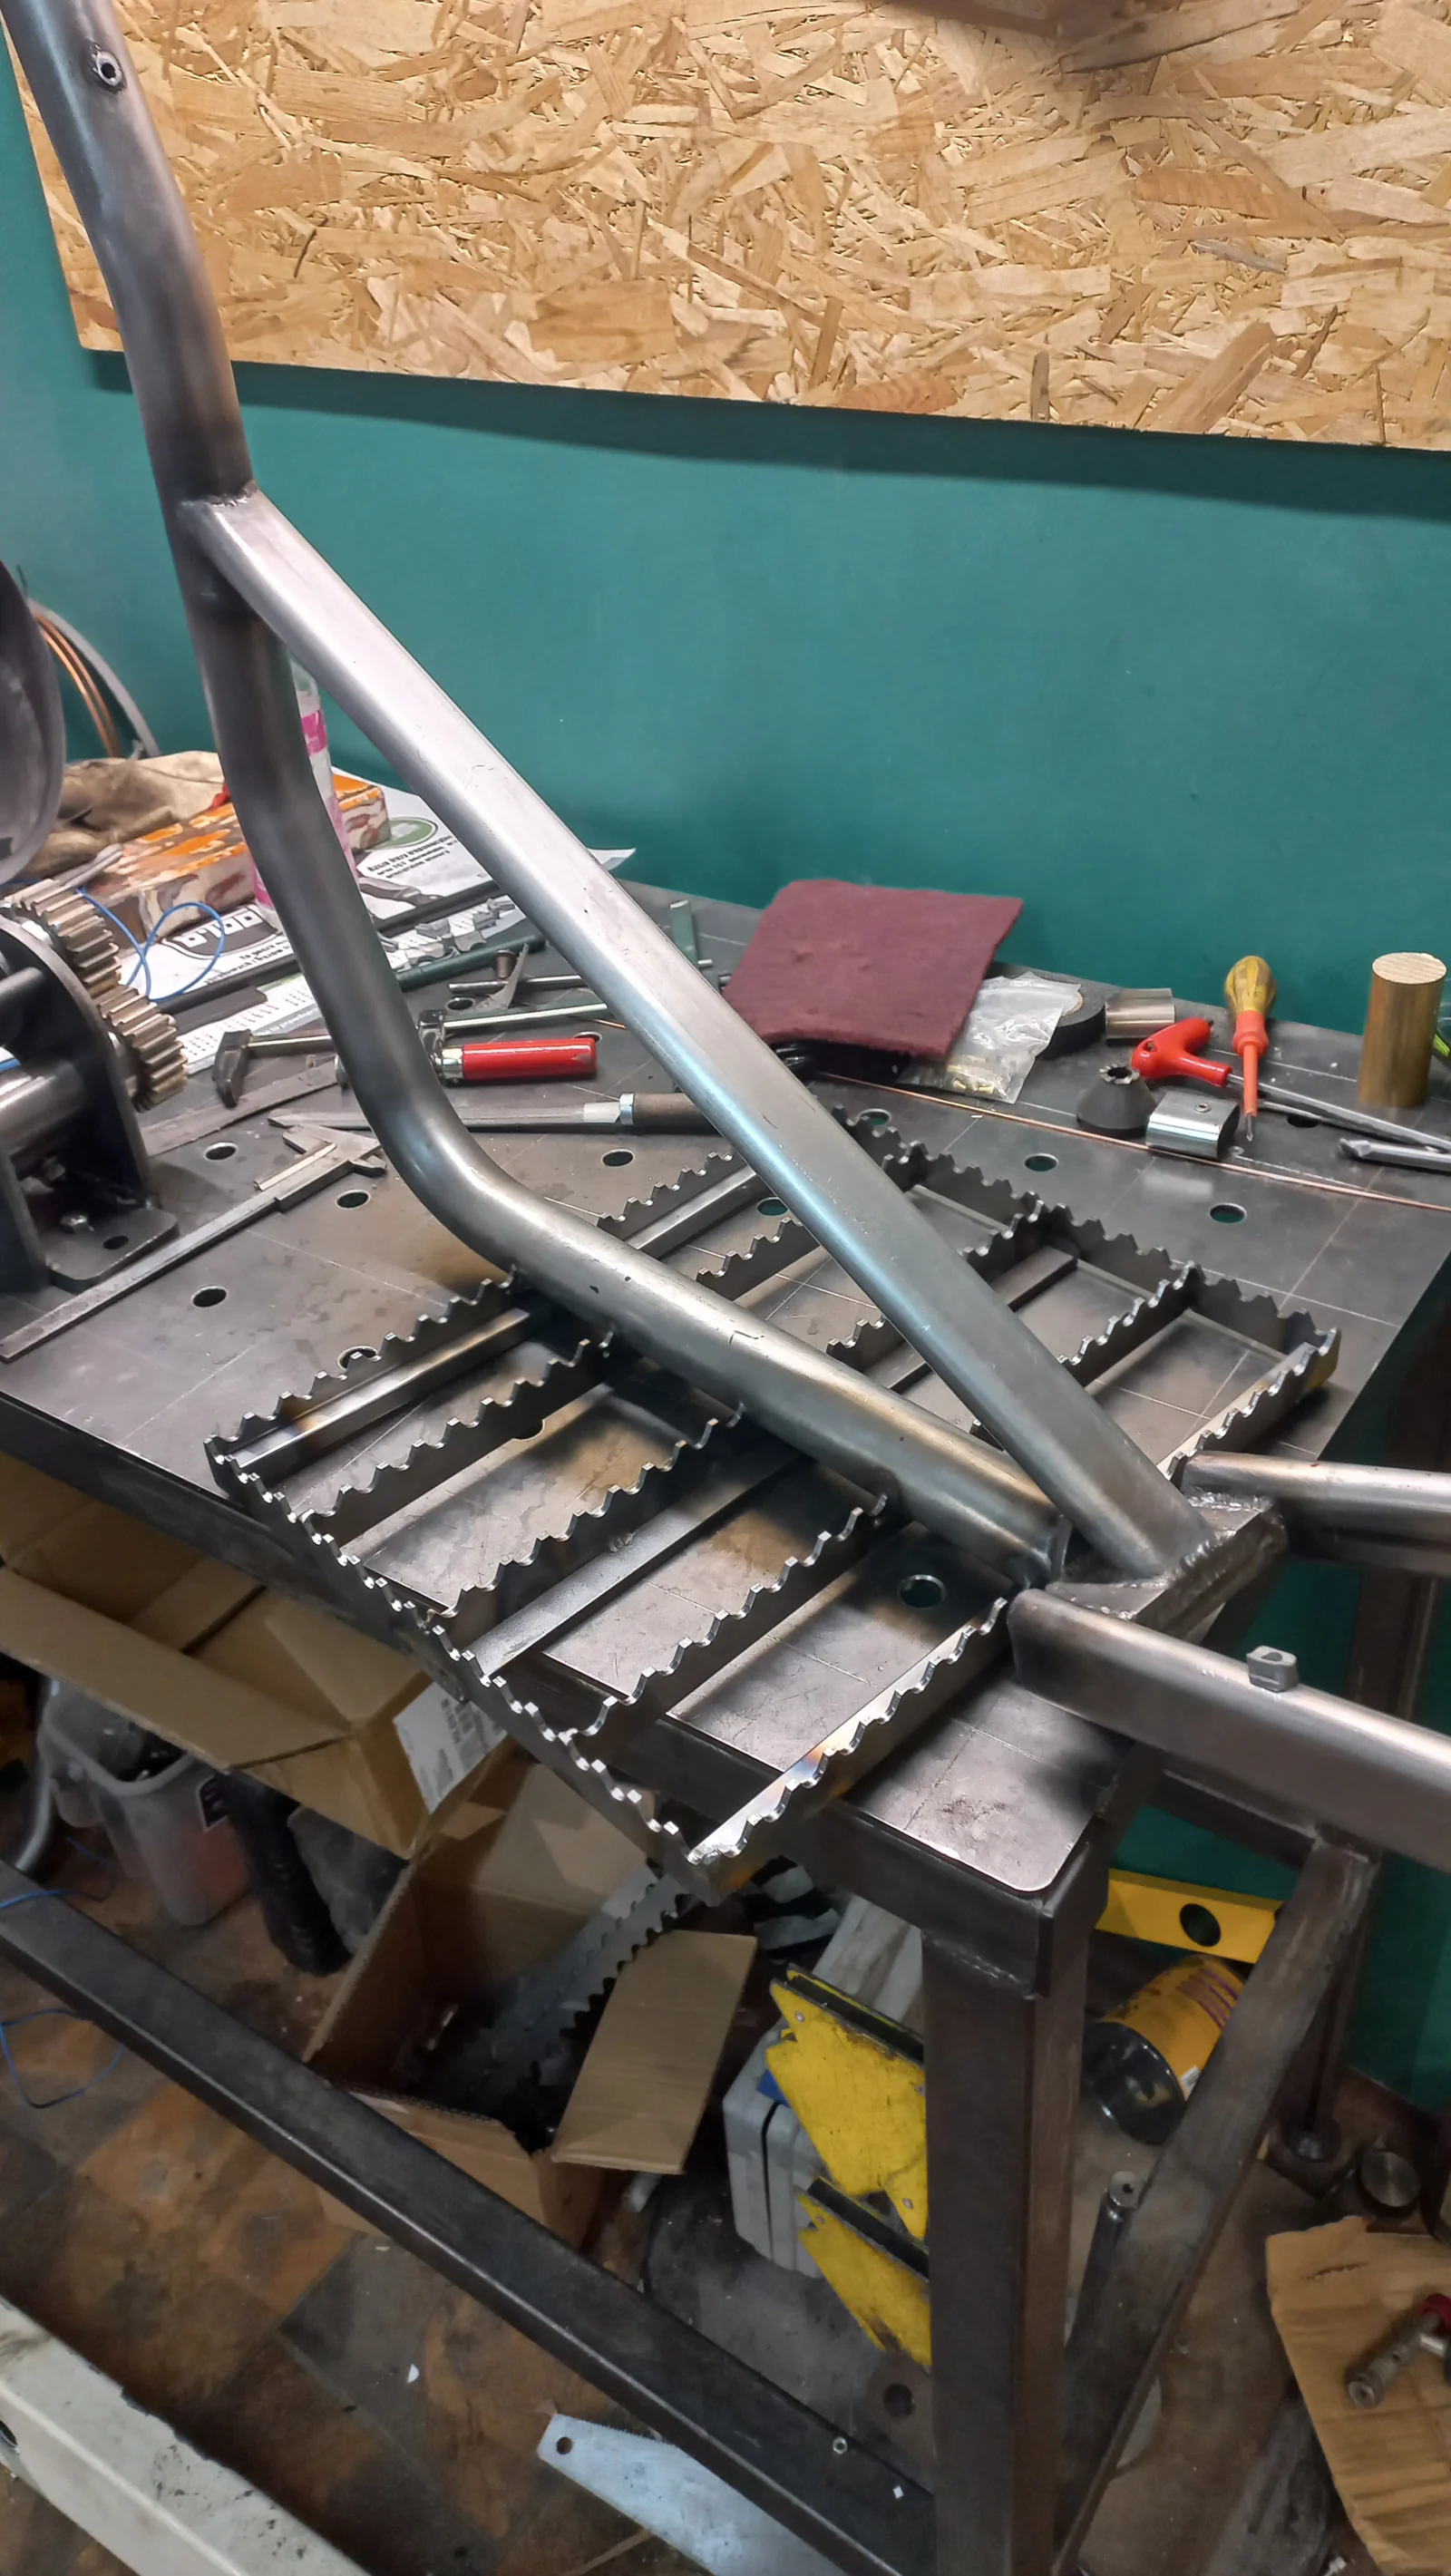
💡 Tip: Thin steel is demanding to weld. Clean edges and the right parameters are the key to a durable weld.
Phase 4: Suspension and Wheel Assembly
Once the frame was ready, it was time for the remaining details. A test assembly with the wheels before further stages. A quick check to see if I was on the right track.
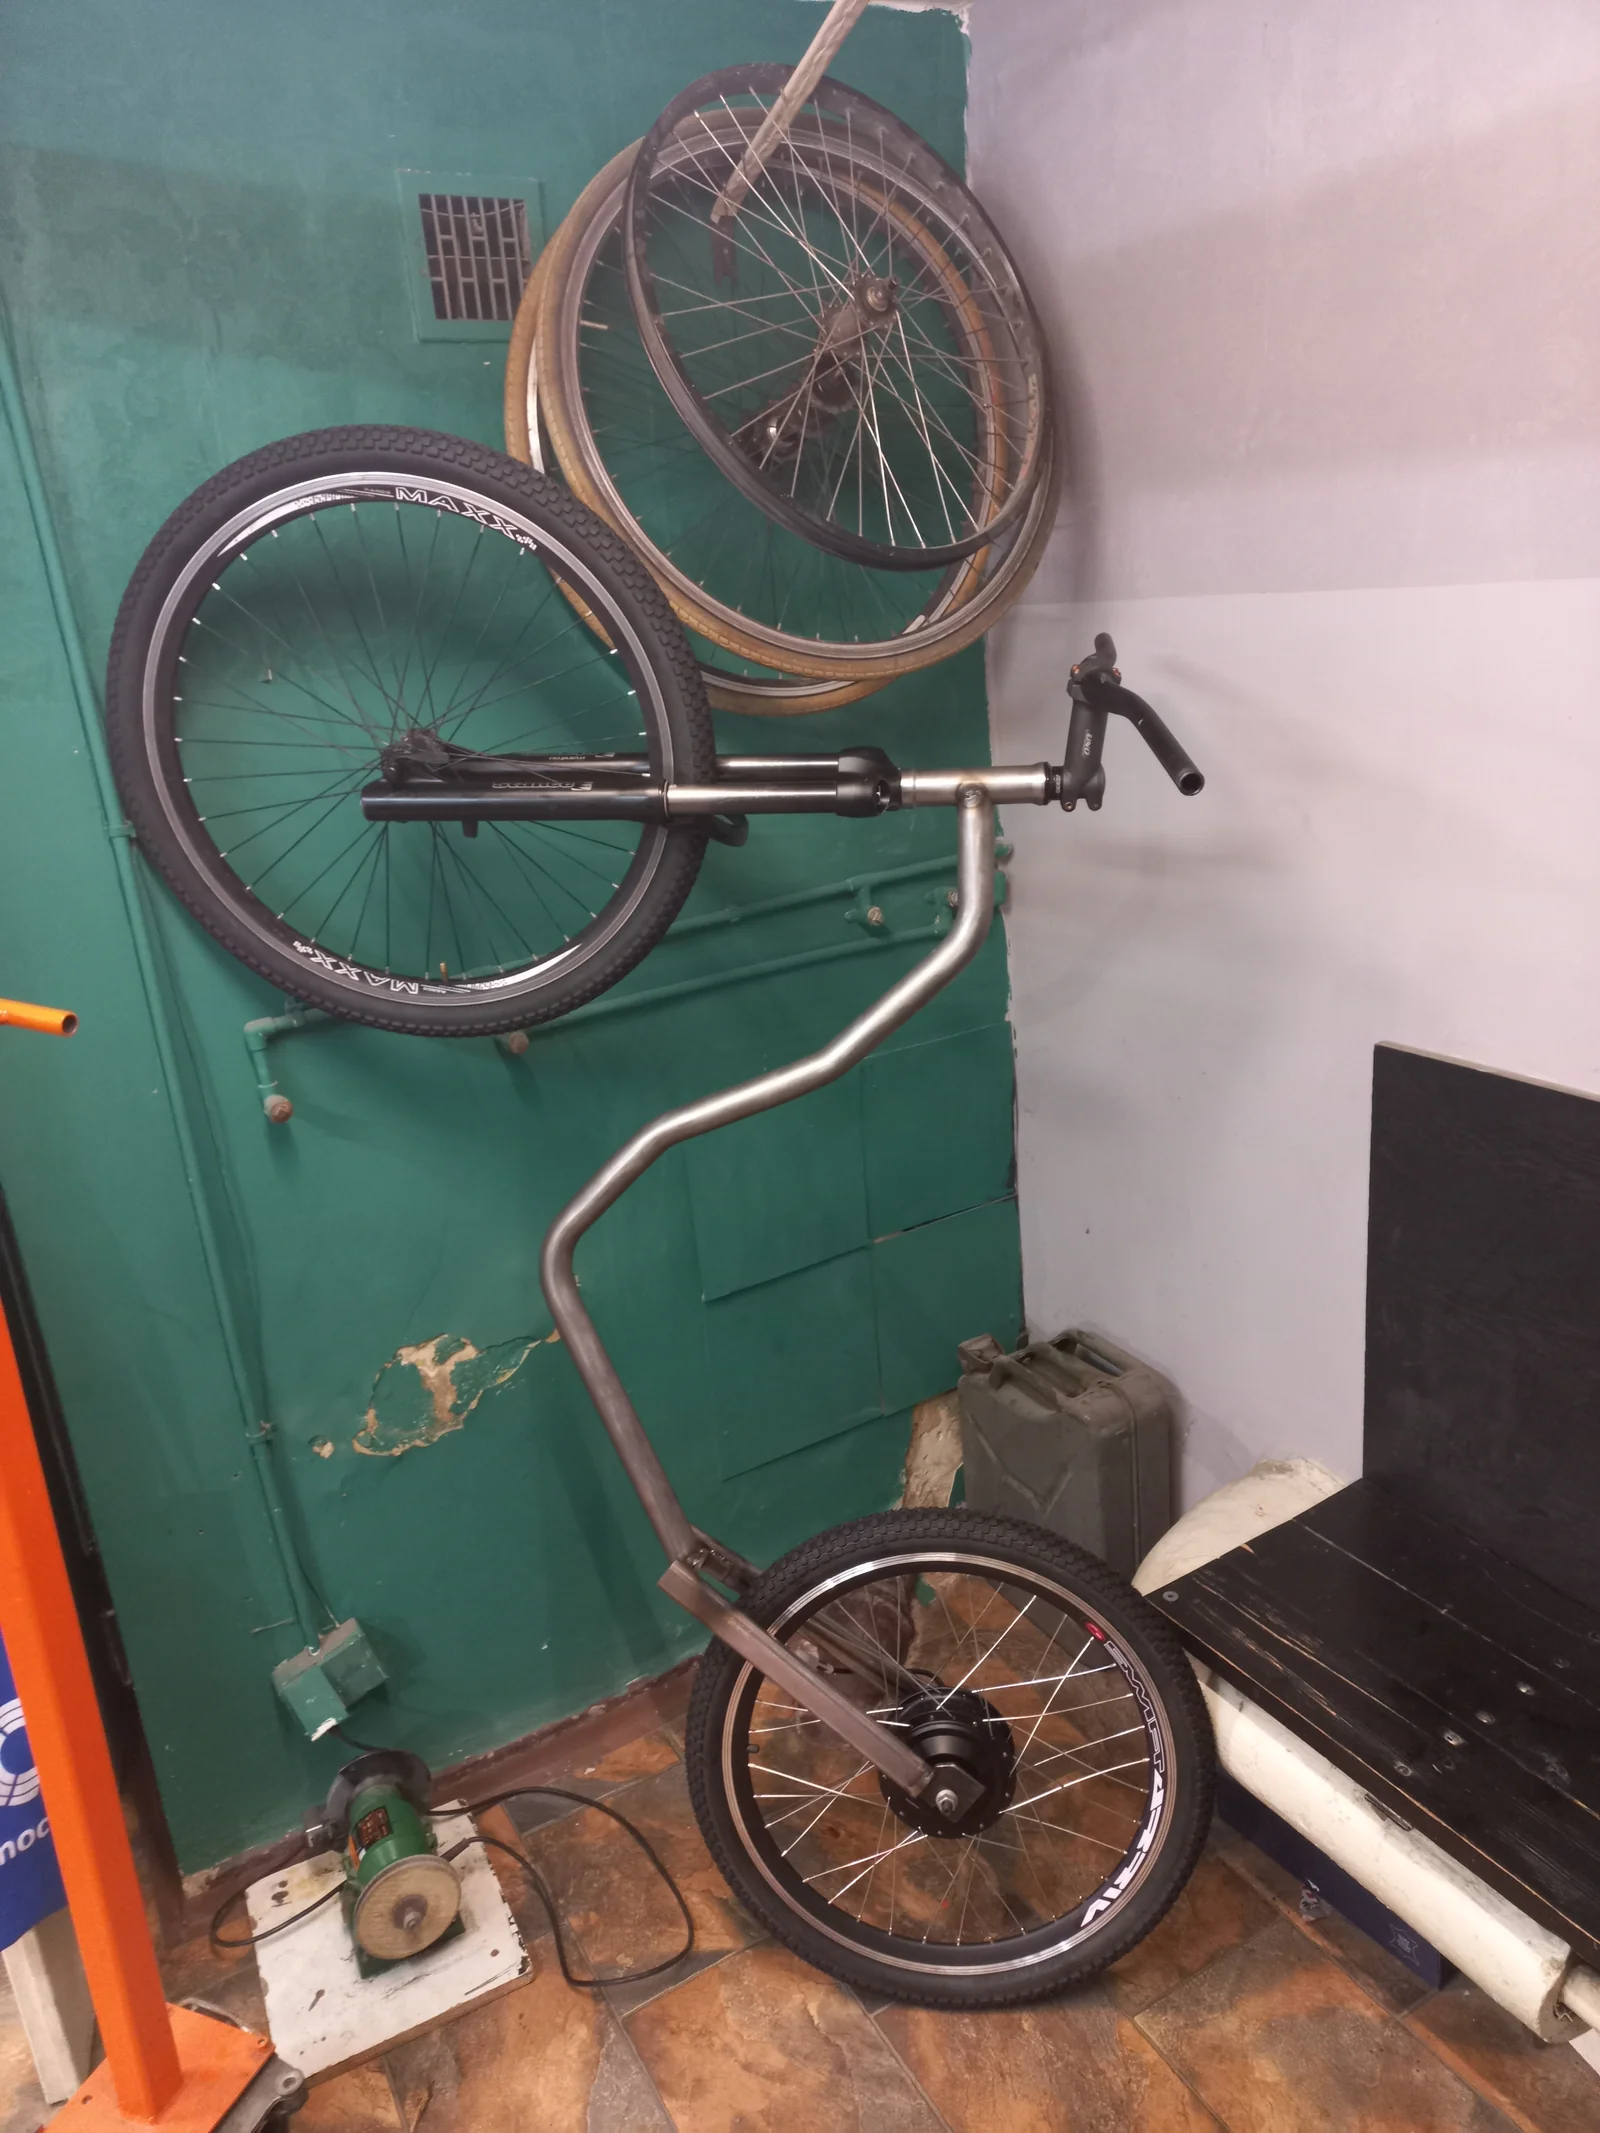
Wheelbase and geometry were critical. Too steep a head angle = twitchy handling. Too slack = sluggish turns. After minor corrections, I hit the sweet spot.
Phase 5: Electrics — The Soul of the Project
Without the electrics, it’s just an ordinary scooter. I installed:
- Rear hub motor — maintenance-free, quiet
- 48V / 10Ah battery — mounted centrally on the frame
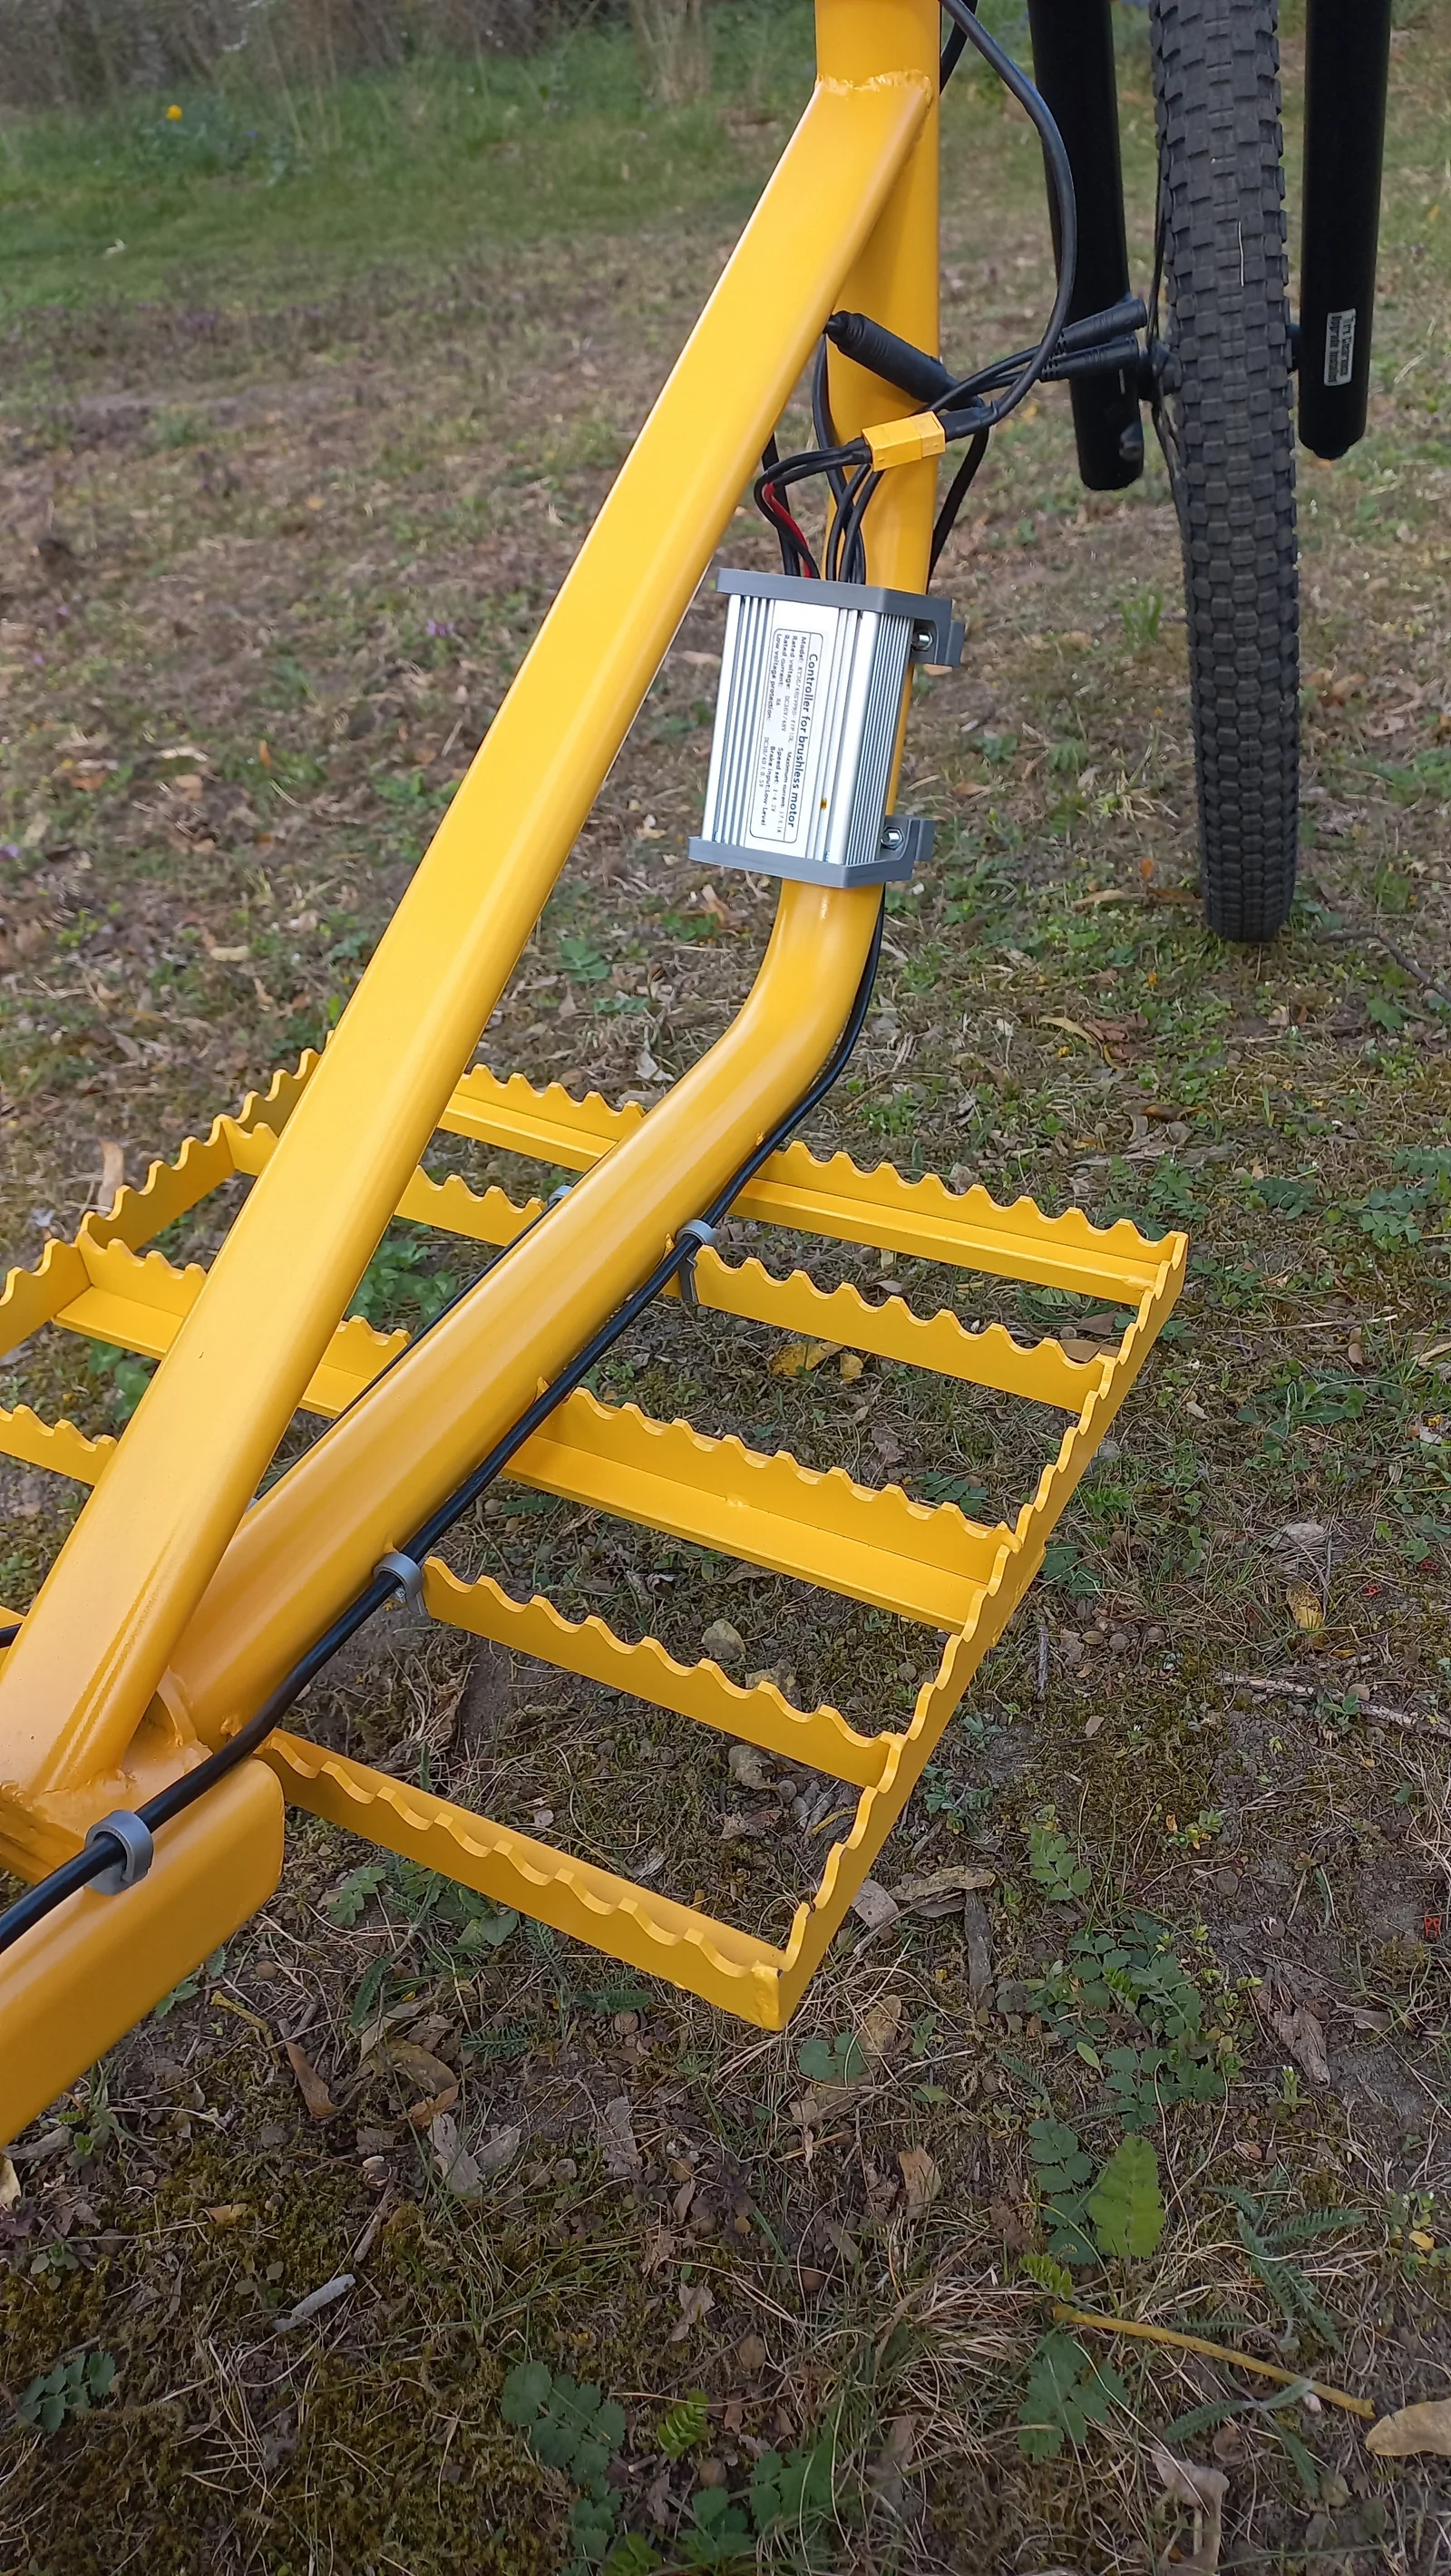
- Controller — hidden under the platform
- Throttle grip — on the handlebar
- LCD display — speed and charge level
Test ride!
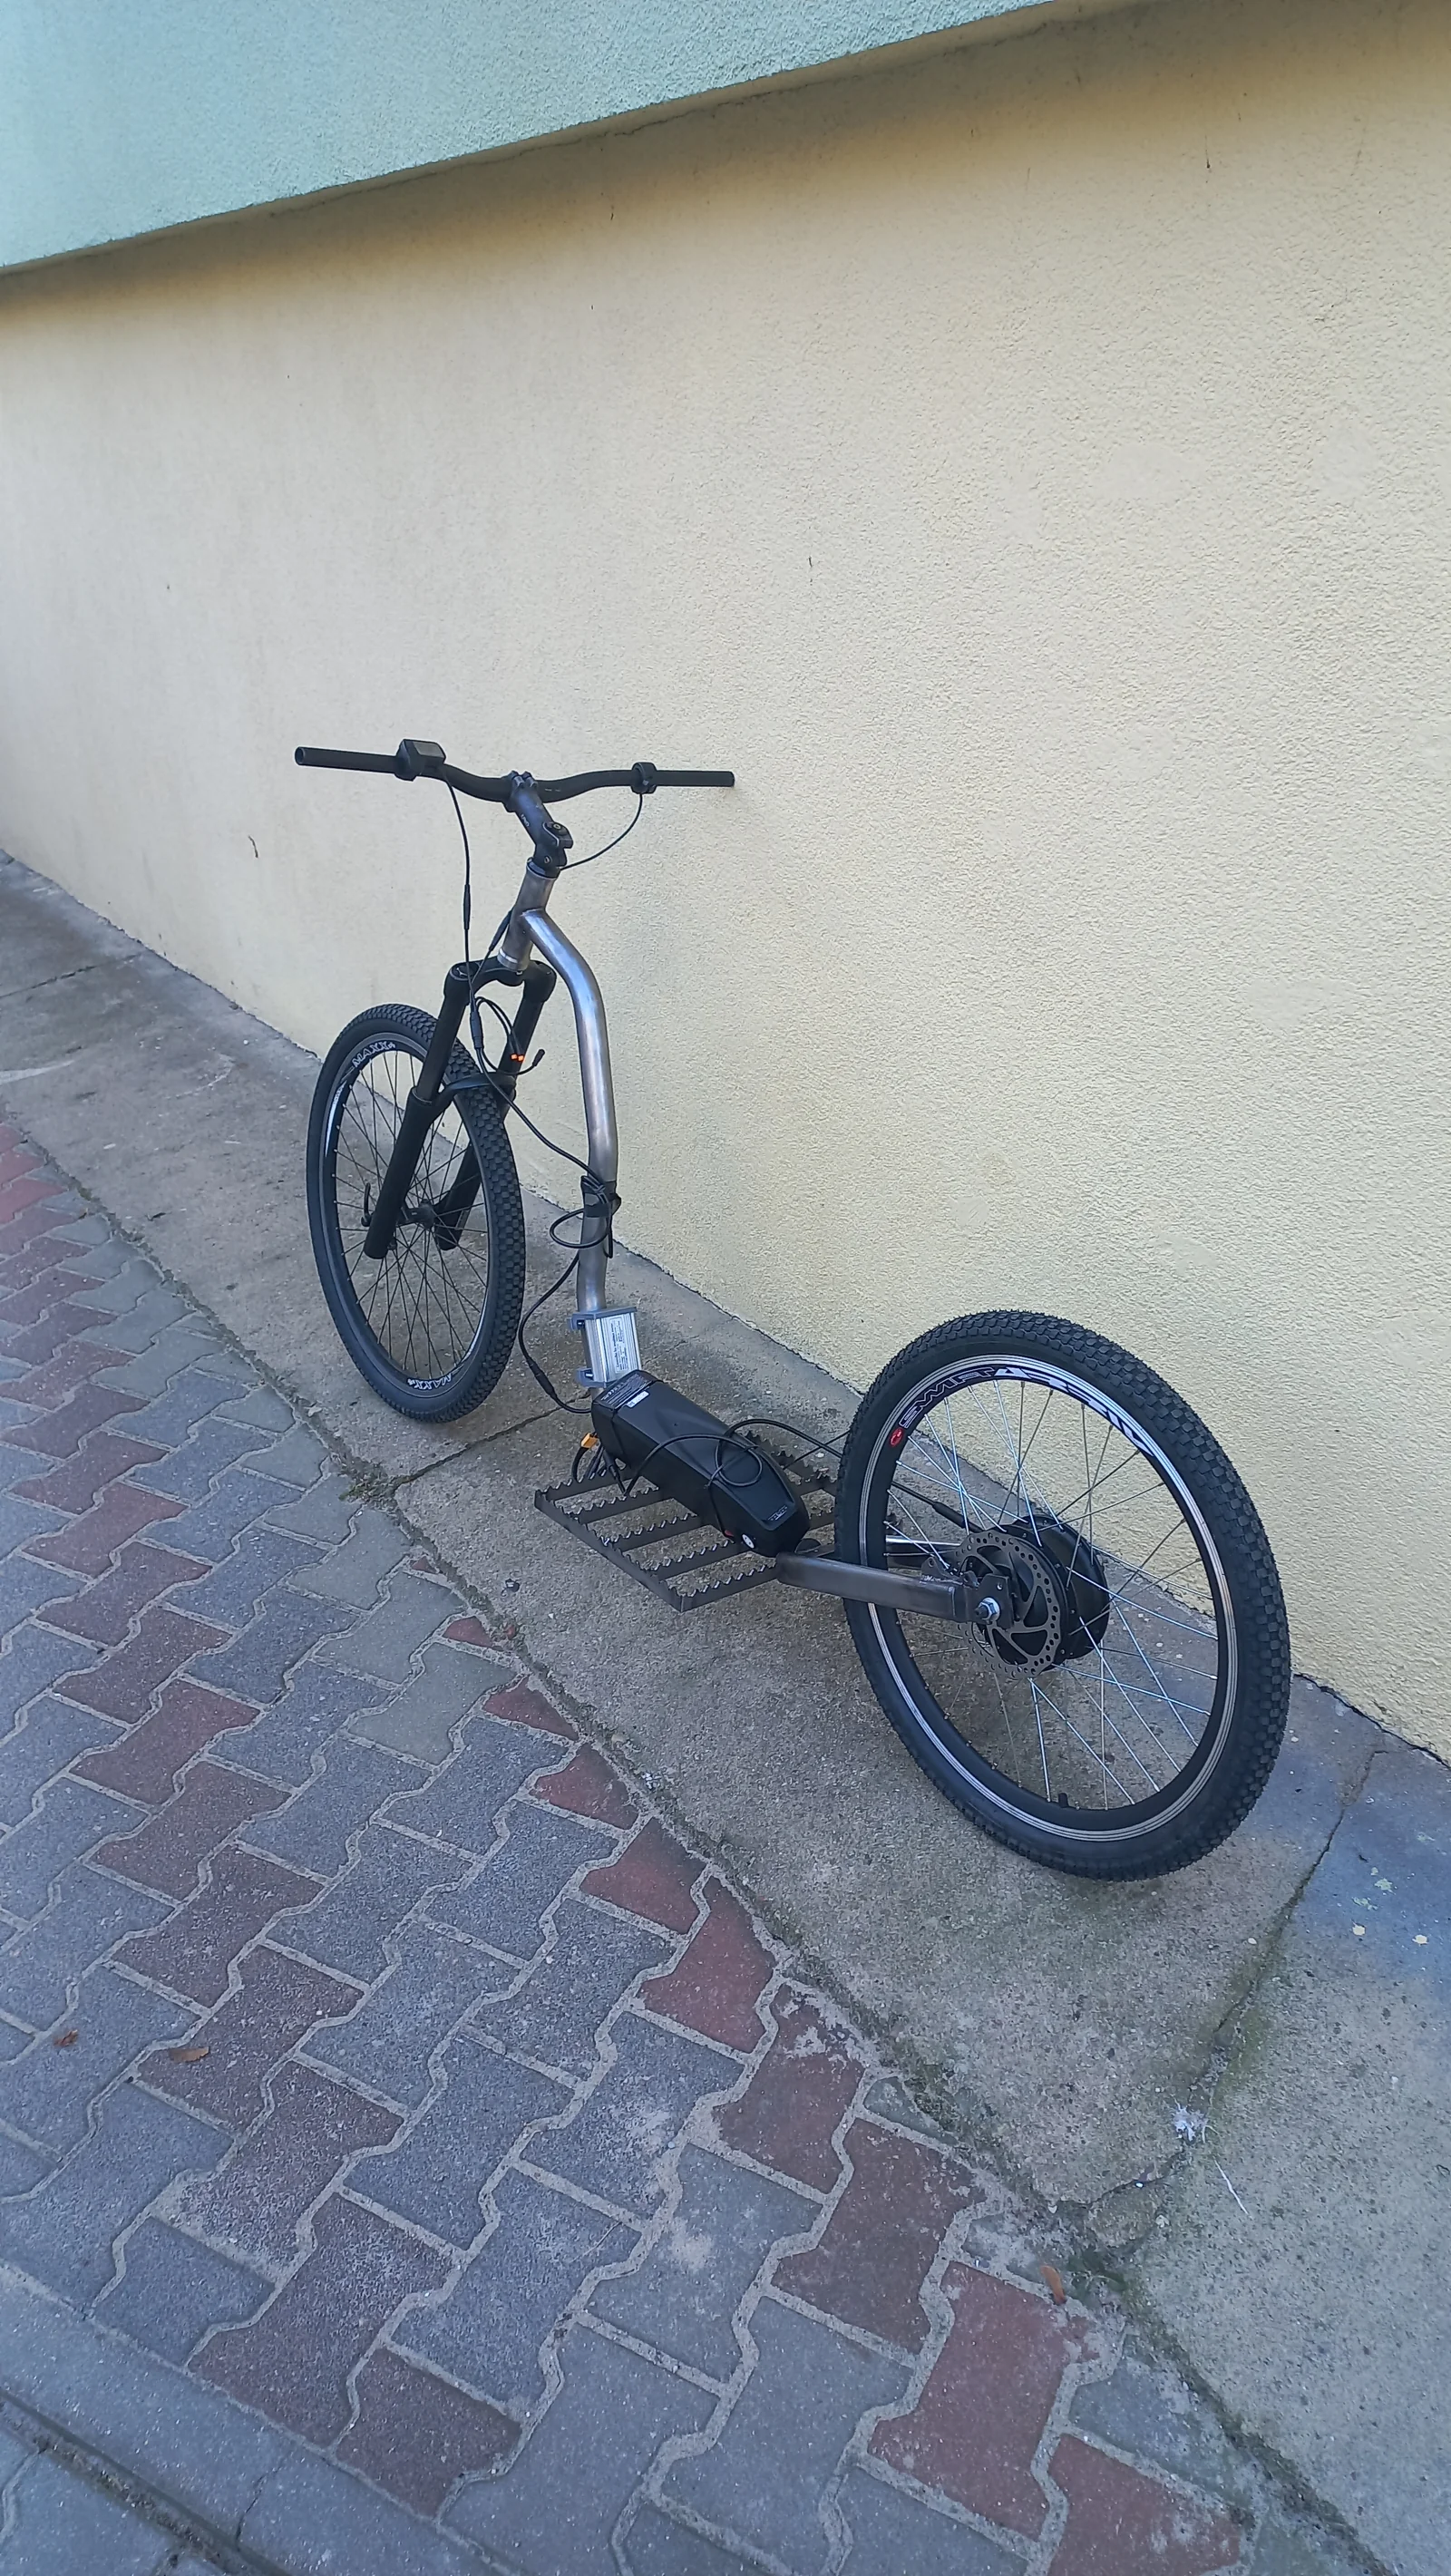
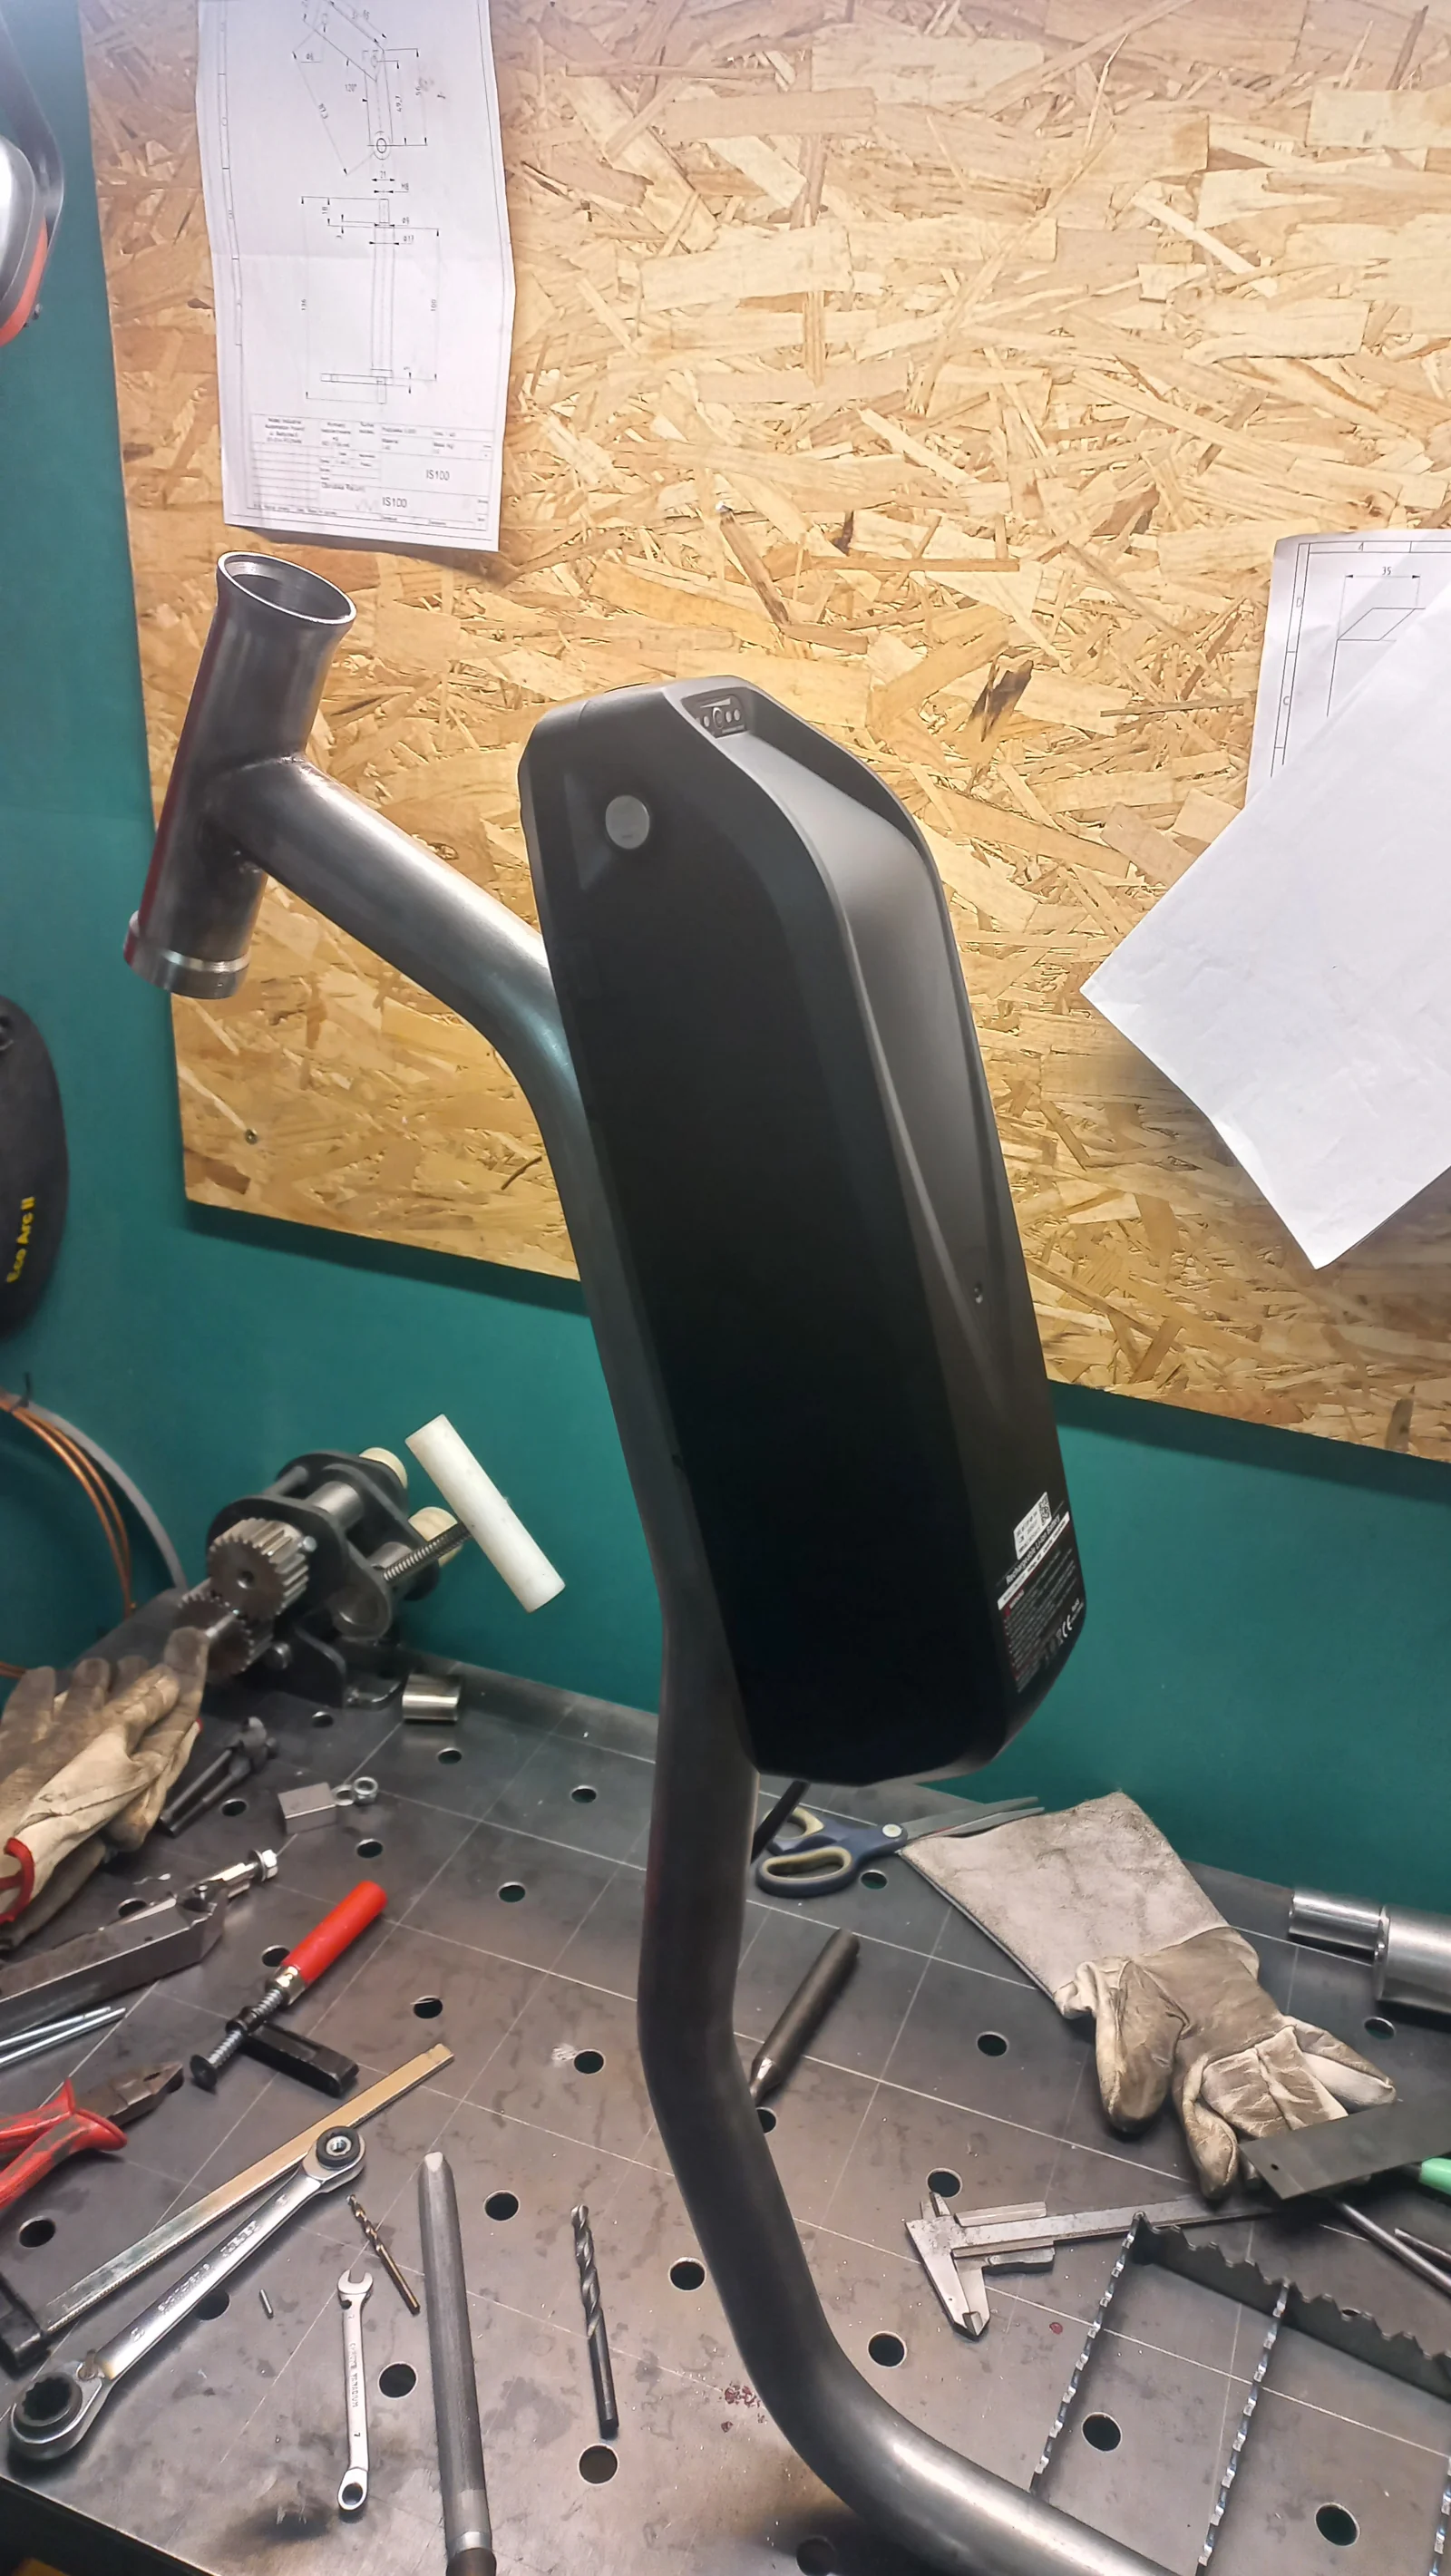
Then came the time for smaller and larger details, like the battery mount.
Phase 6: Finishing and Details
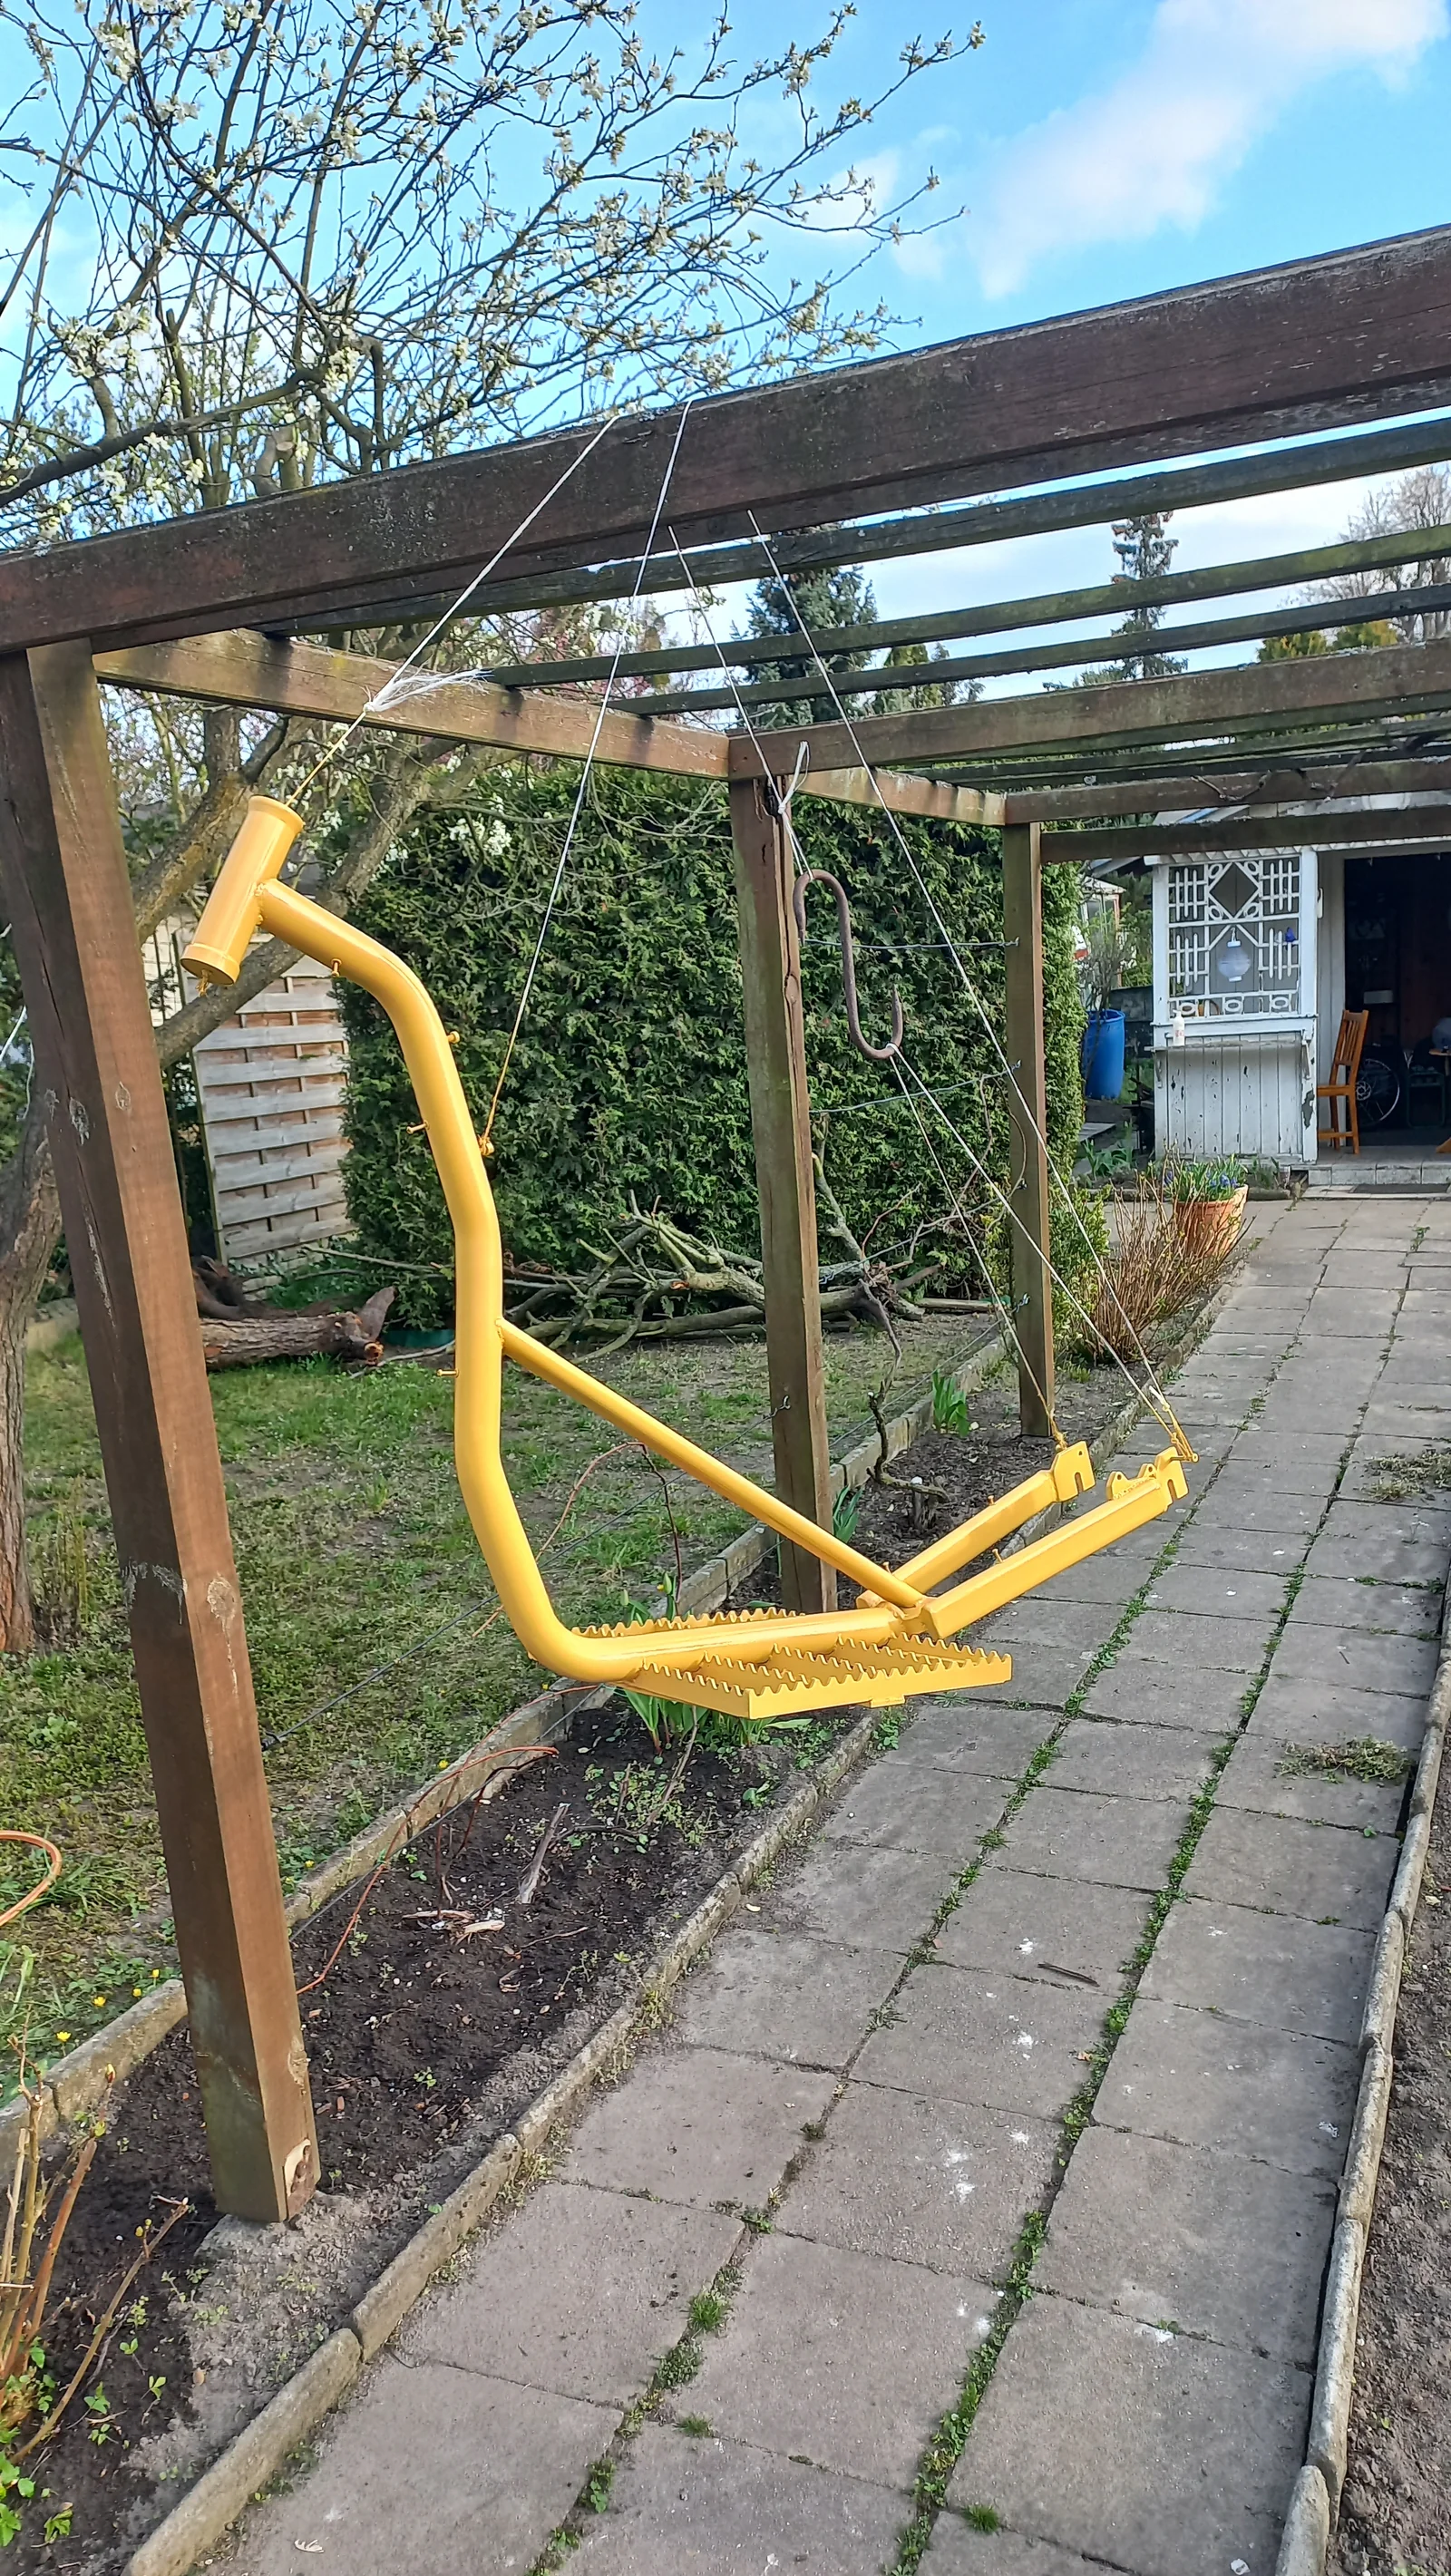
Raw steel looks cool, but it rusts quickly, so painting was essential: Eventually I plan to powder-coat the frame, but for this first prototype I sprayed it in the backyard :)
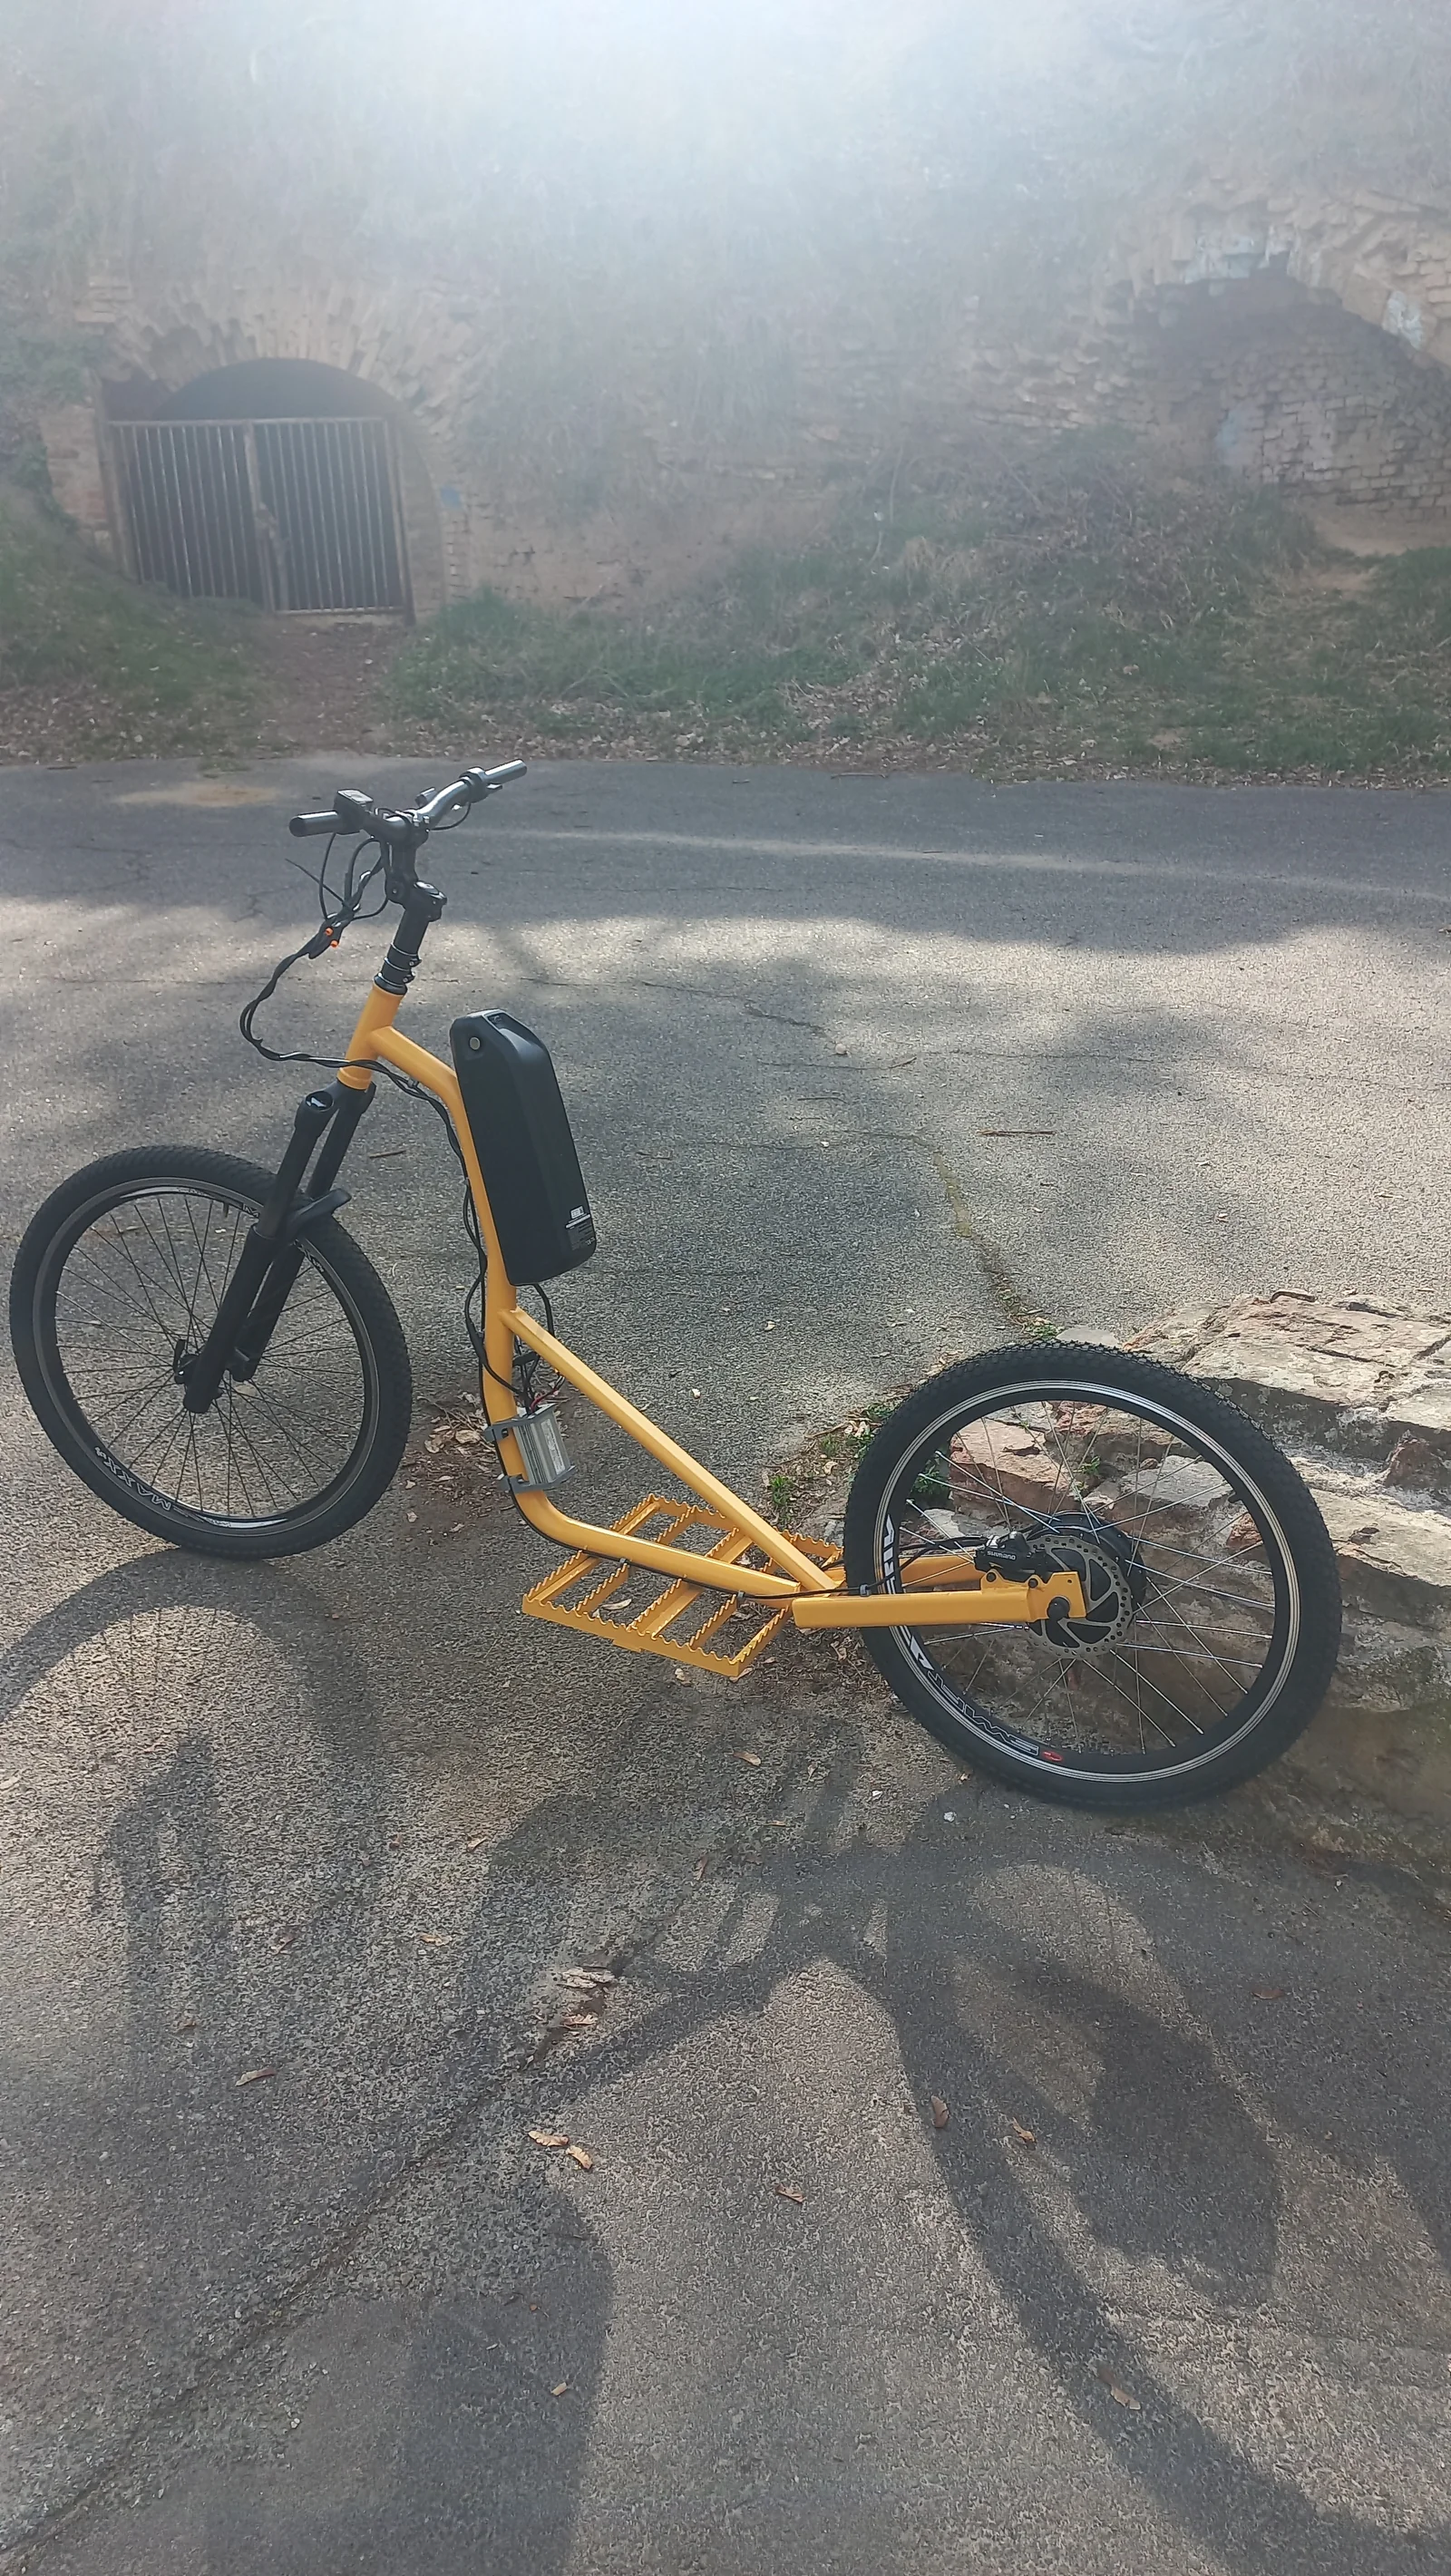
The scooter after assembly with the controller visible.
Phase 7: The First Ride
The moment of truth. Tension, turning the key, a gentle twist of the throttle… and we’re off!
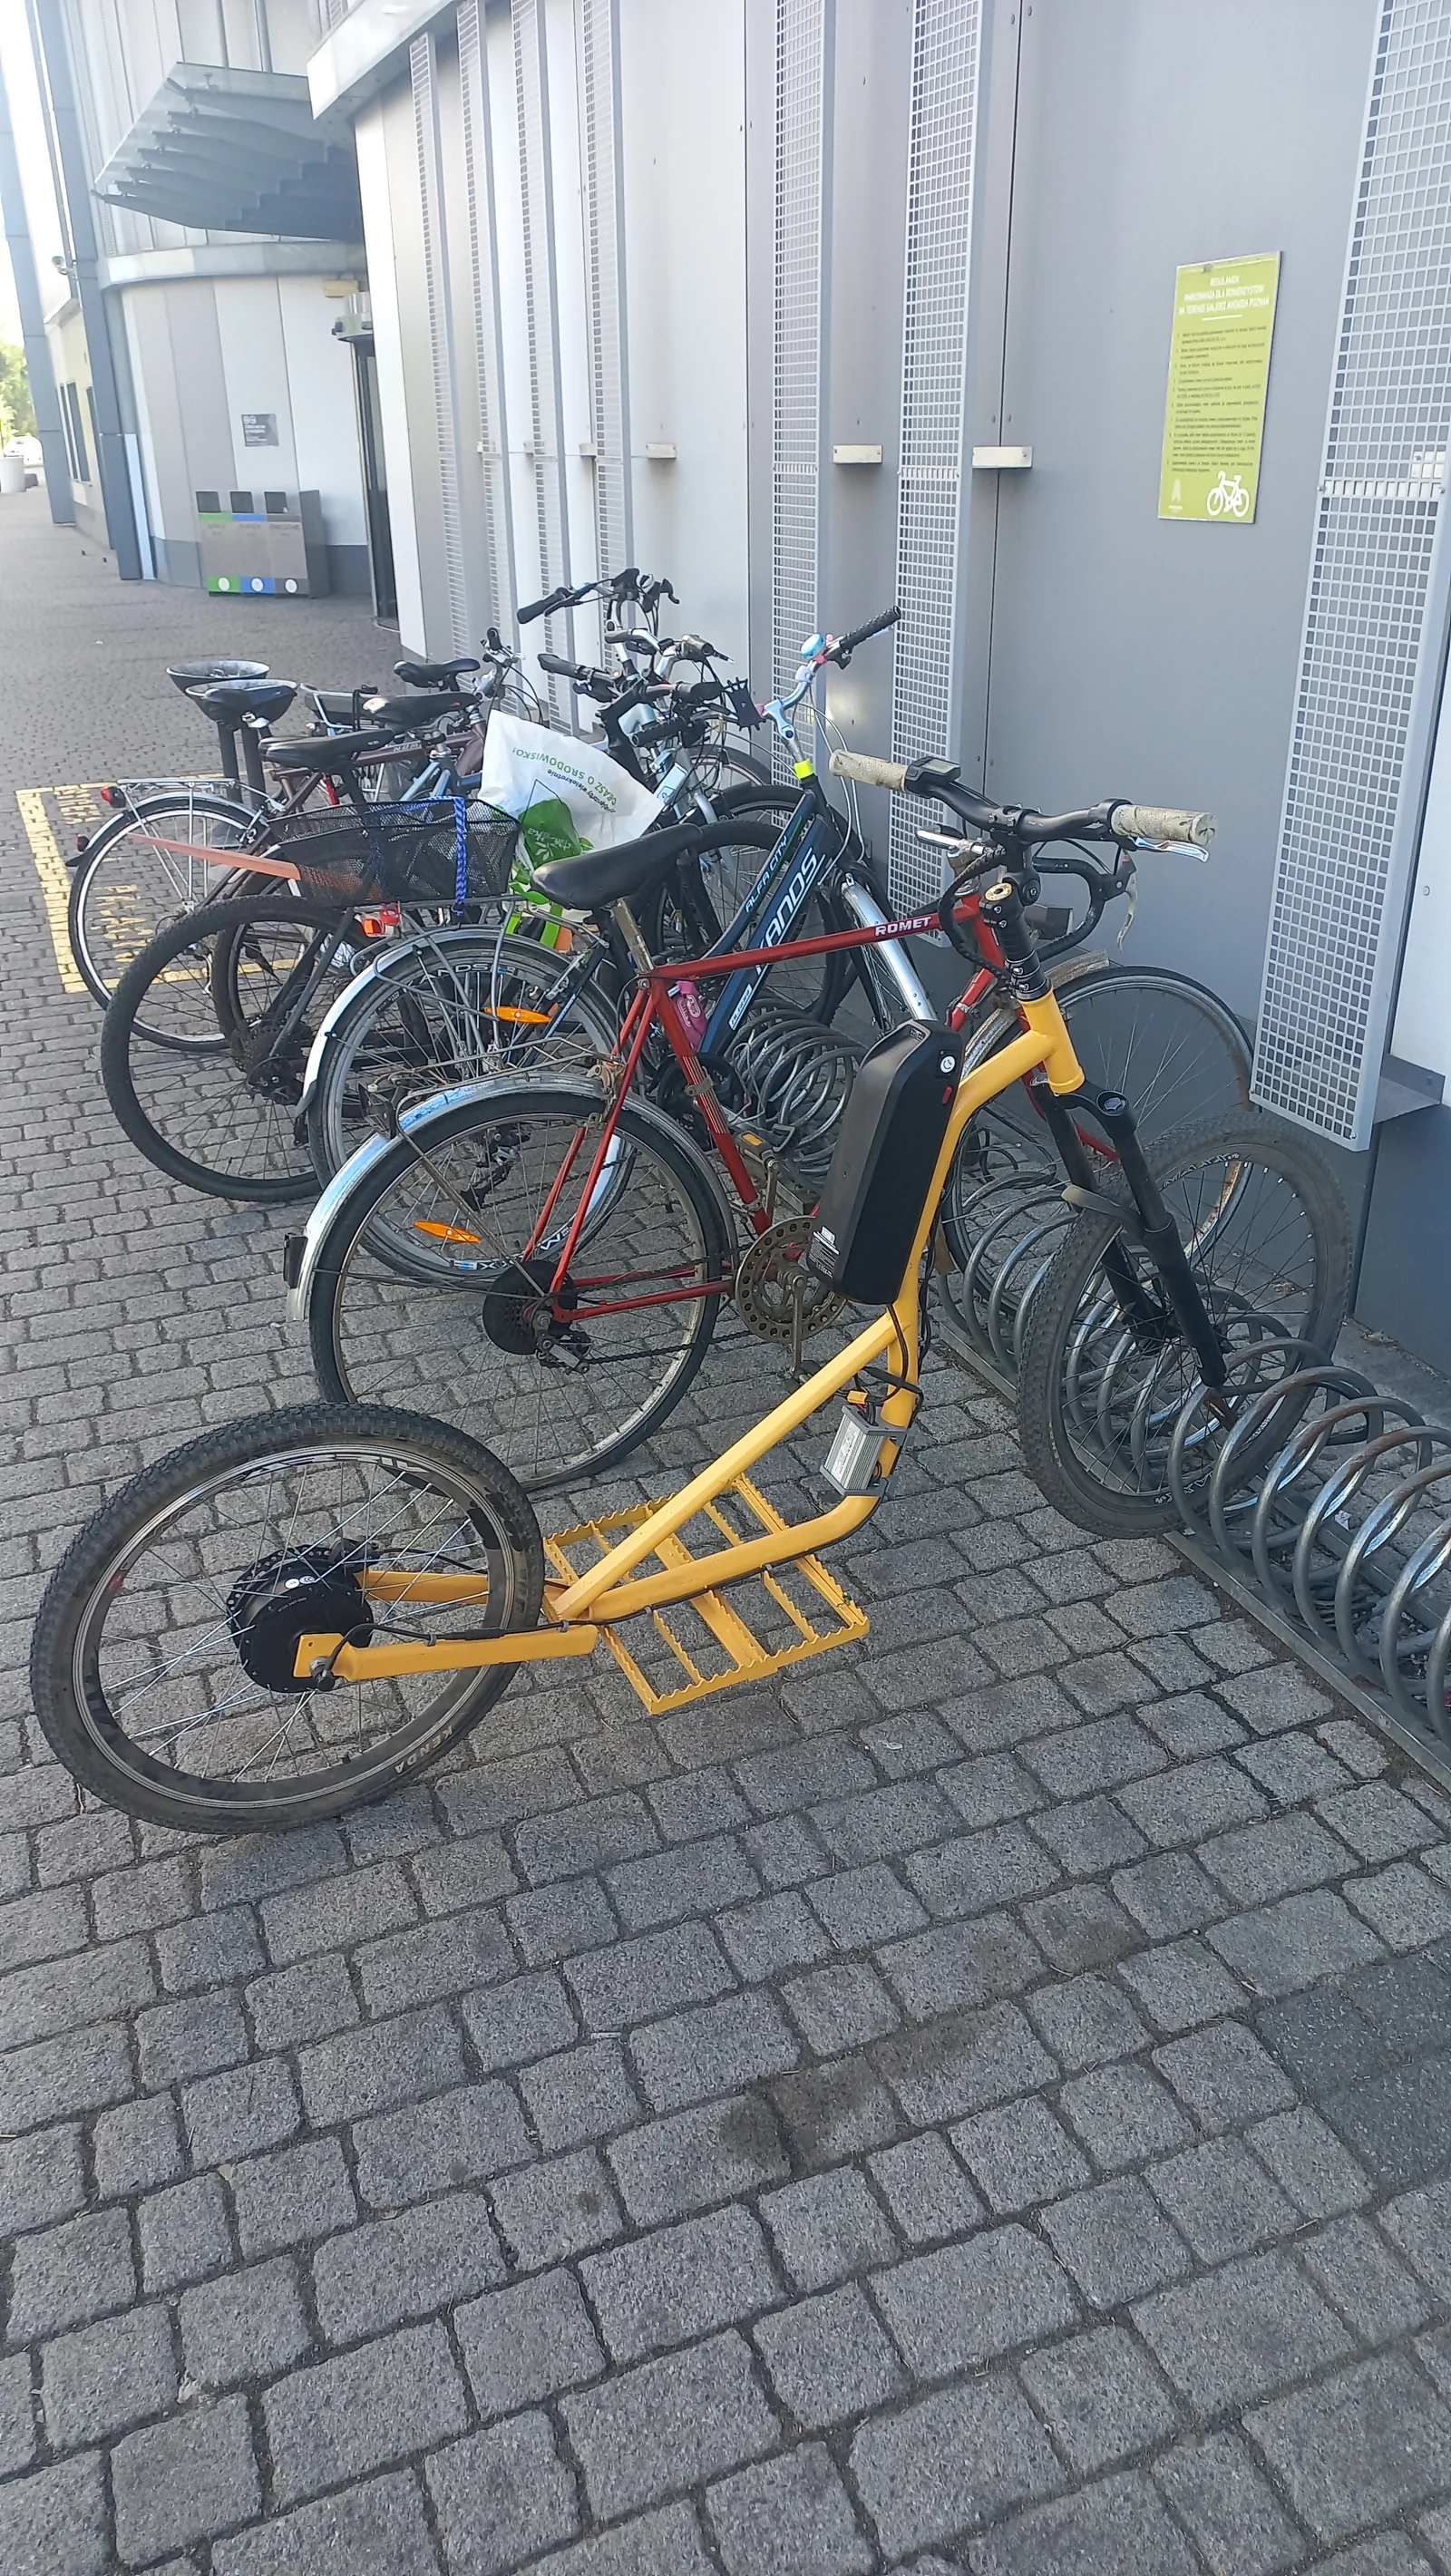
The scooter after the first 1,000 km. The weirdest vehicle in the rack!
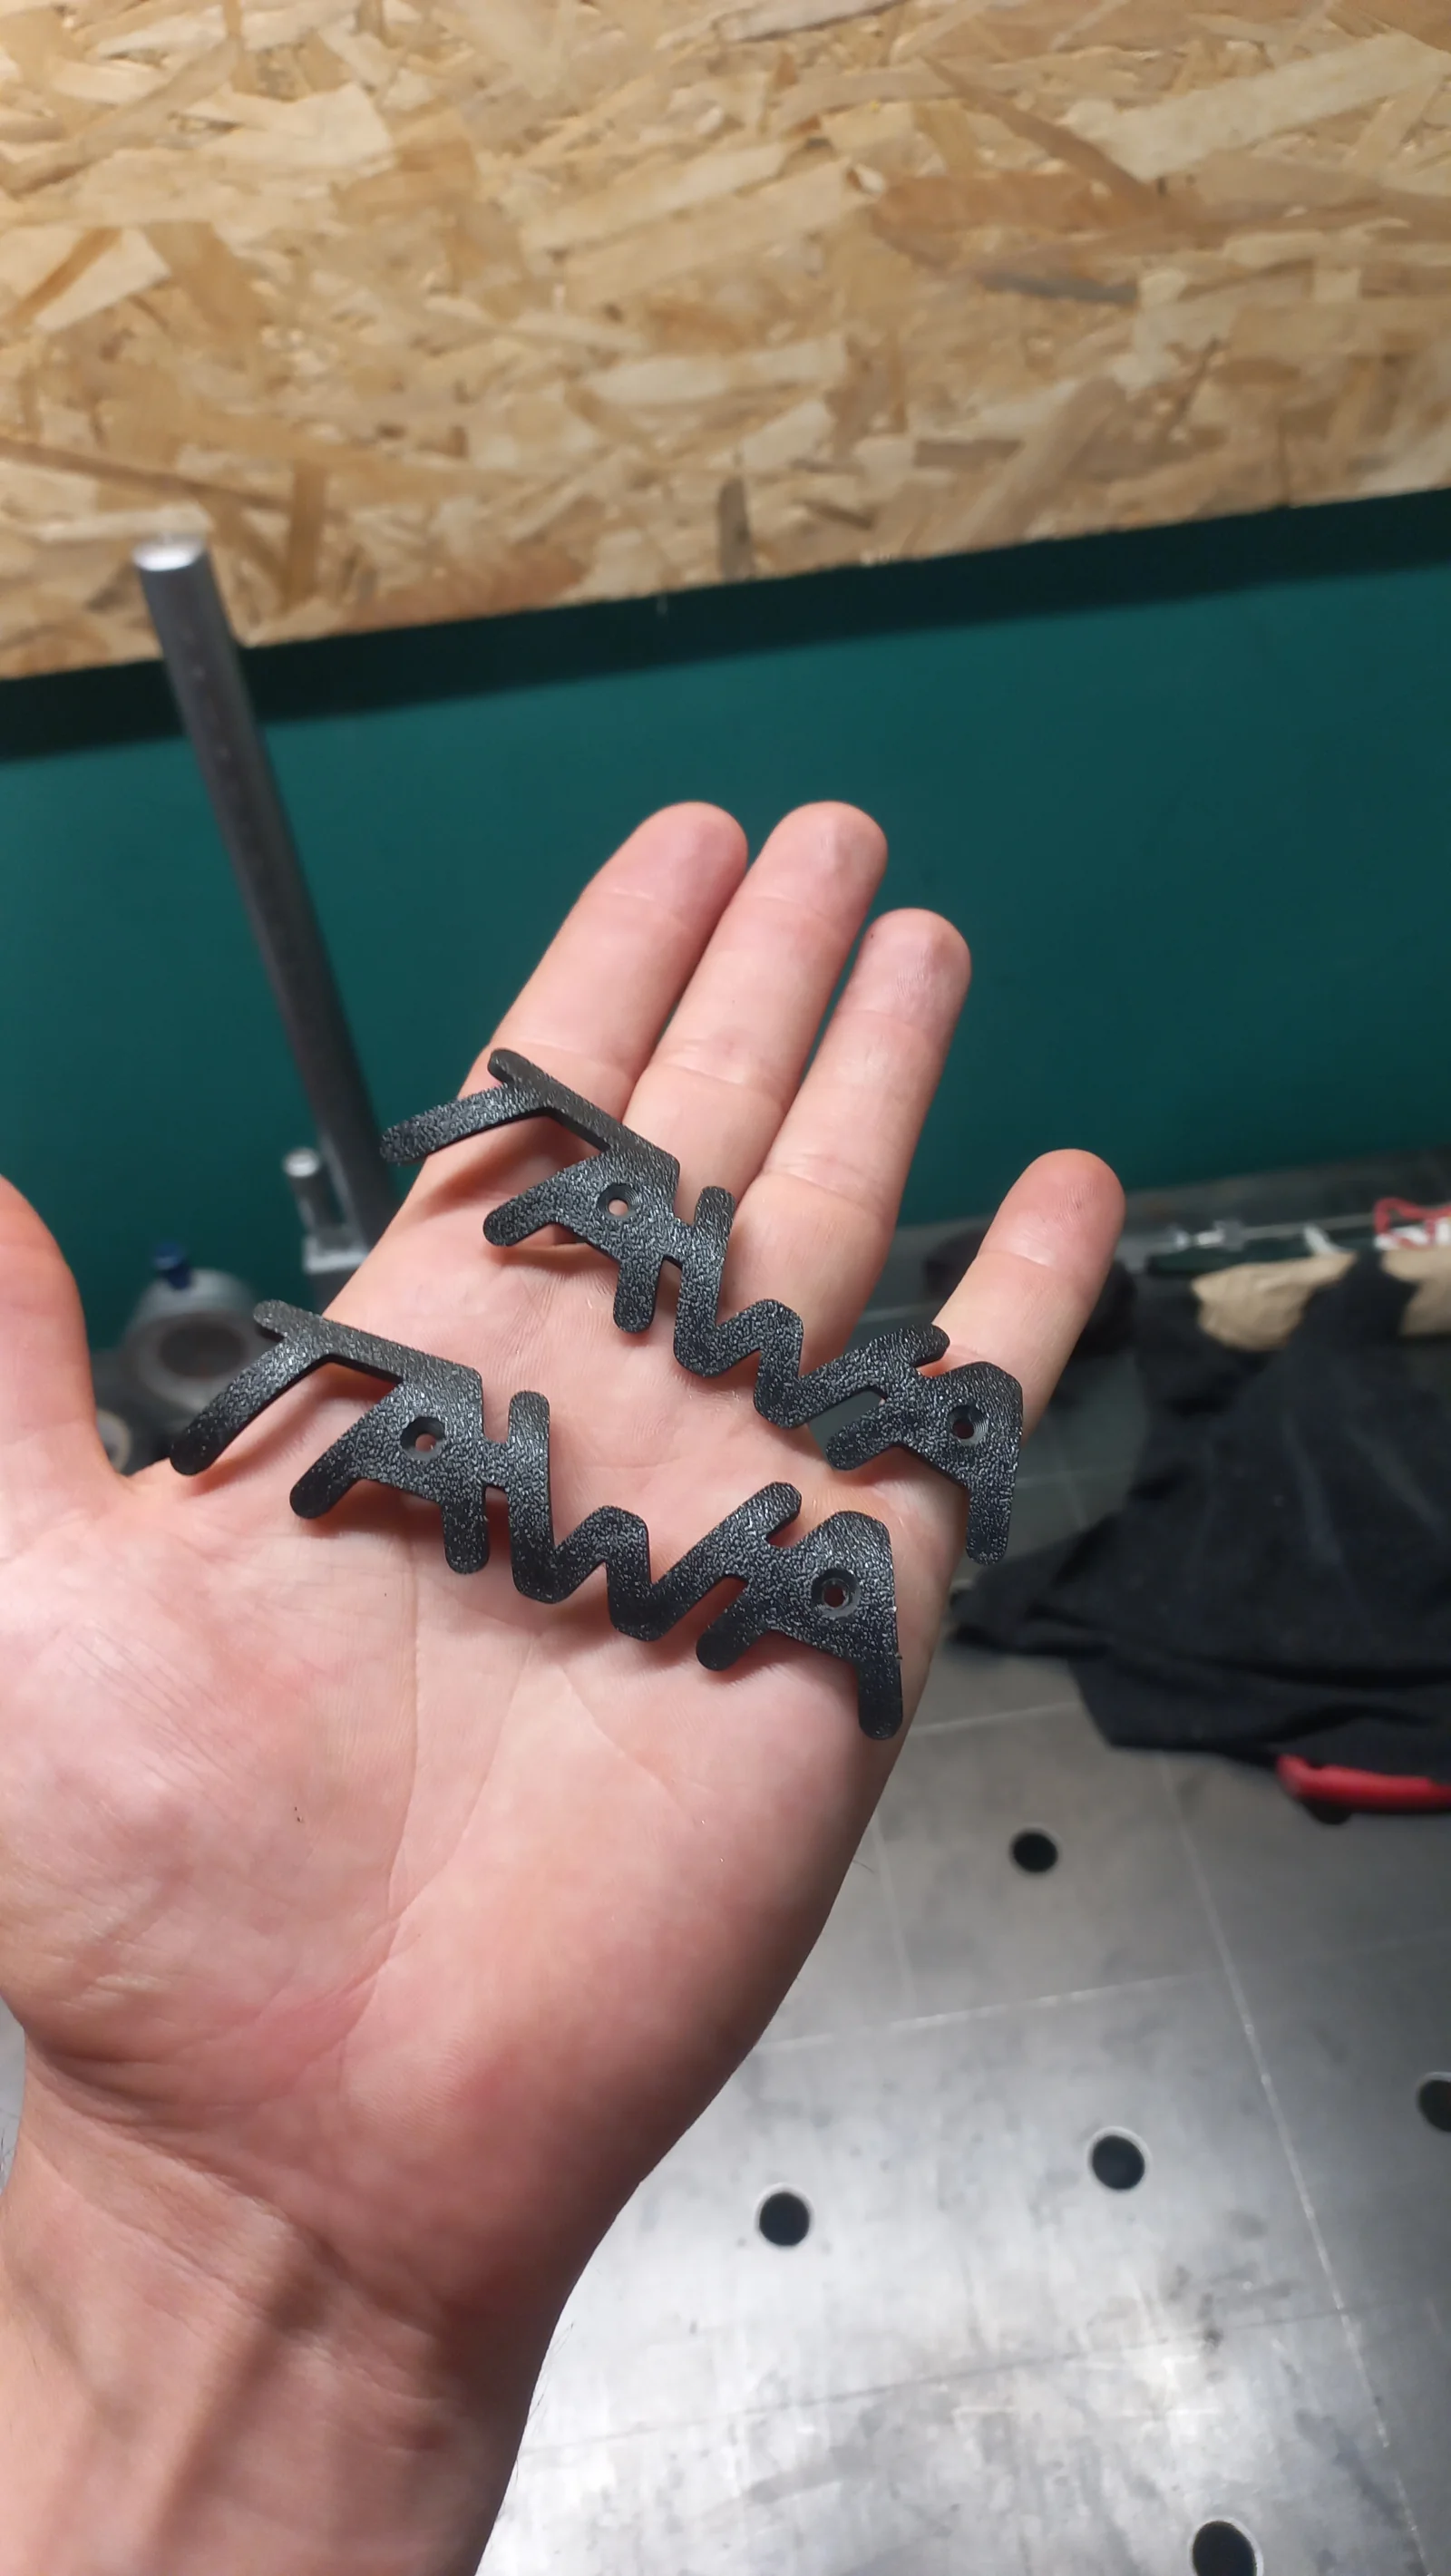
Time for the nameplate! TAWA was 3D-printed and fitted to the curve of the frame.
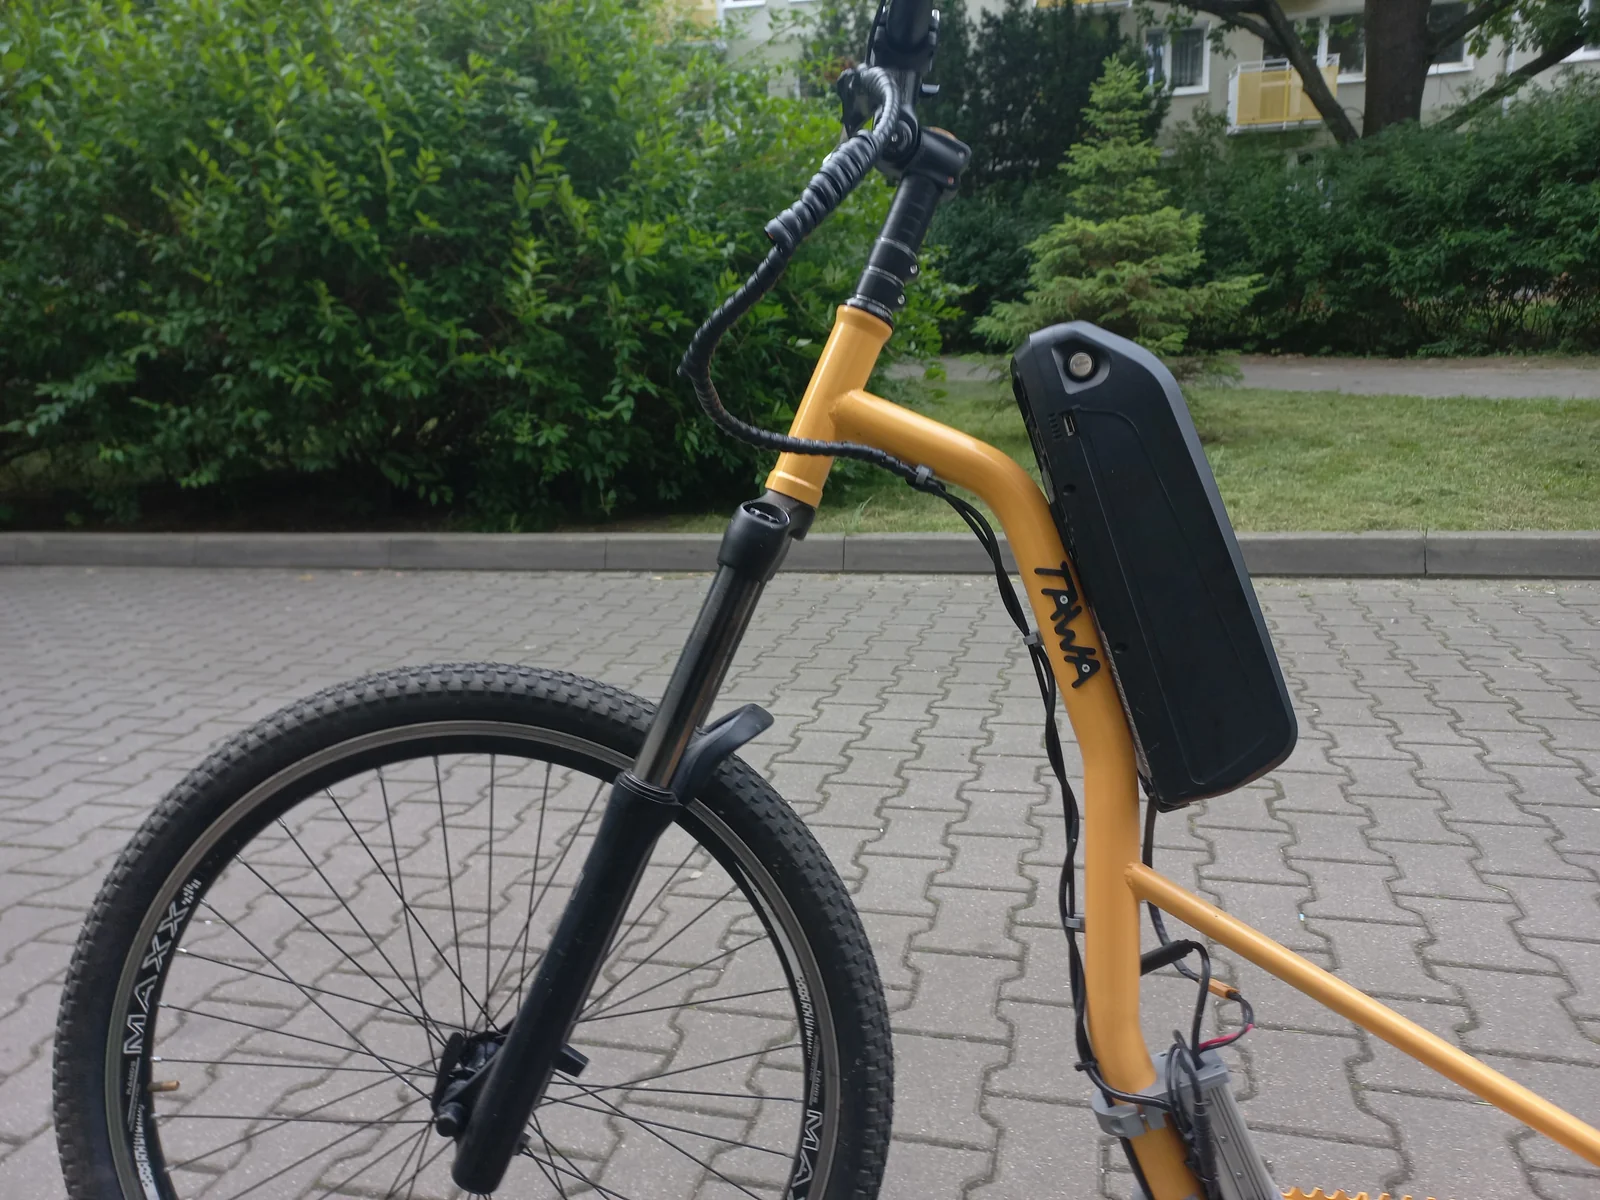
The nameplate on the side of the frame fits the yellow beast perfectly!
First riding impressions? Surprisingly stable. The large wheels do the job, and the central battery keeps the center of gravity in a good spot. Acceleration is smooth, and the range is enough for daily commutes — about 50 km.
Technical Specifications
| Parameter | Value |
|---|---|
| Frame | S355 steel, TIG welded |
| Wheels | 26 and 24 inches (MTB) |
| Suspension | Front fork |
| Motor | Hub motor 250-500W MXUS |
| Battery | 48V / 10Ah (360Wh) |
| Range | ~50 km (depending on mode) |
| Max speed | 40-45 km/h |
| Weight | ~22 kg |
| Brakes | Disc (rear only for now) |
What Would I Change?
Every project teaches you something new. If I were to build it again:
- Lighter battery — I’d consider lighter, higher-quality cells
- Disc brakes — I’d add a front brake; rear only is not enough
- LED lighting — factory-integrated with the battery
Summary
This was a months-long adventure full of challenges, mistakes, and small victories. The result? A scooter that no one else has. You can’t buy it in a store. There’s no other like it.
“Hand-built things have a soul. I left mine in every welded joint.”
Have questions about the build? I’d be happy to share details if you reach out 👇 info@borilab.pl